Pages

Monday 16 September 2013

Ta Daaah!!!

I know - we have till 25th September to complete our sweaters and Rachel and I have finished already  but you see we both have quite valid reasons.  Rachel, as she says, has bitten off more than she can chew, as well as lots of personal knitted stuff she is co-organiser of The Great London Yarn Crawl   And me?  Well I have a lot of time on my hands... (and a lot of yarn since you ask, I have one more project on the go and another still in my head, and in skeins, that I aim to finish before I return to the UK on 30 September)


I have indulged in a little embellishment and exercised a little Paxos Improvisation to complete my sweater because there are no buttons to buy on the island (who said, not even for ready money?) So I had to make them up.  Firstly I crocheted up some little circles with two strands of the S&C Sweater


Using the slip knot loop method


I worked 15 half trebles into the ring


And drew it up tight


Made another and joined them together with 15 slip stitches around the edge, slipping in a 1(Euro) cent piece as I went


Then I made a little 5 chain loop at the back and fastened off all the loose ends


In no time I had 7 in assorted colours


Did a little gentle blocking (dampened, pulled out the points and left it in the sun).  I invented the flower on the hoof - essentially based on a similar centre to the buttons with 16 half trebles but made in full strength S&C Sweater and created two layers of 8 petals


And Ta Da!!  The card is done ready for its photo-shoot on the beach


Hope you like it

xx

c

Thursday 12 September 2013

Borders, binding-off, button-holes and bodging


After Stephanie confirmed that there had been a slight mixing up of the numbers for the marker placements for the nonagon yoke it knitted up very quickly. 


Even with the extra four underarm stitches the first colour was a little tight but by pulling a through a loop of cable at the tightest point (a modification of the magic loop method) the slight awkwardness was easily overcome and the stripes kept coming. 


The decreases are formed on the right side rows, by a K2tog after the markers on the right front, running into the back and SSK before the marker on the left.  BUT at the centre back the decreases alternate K2tog and SSK.  So to stop myself speeding through the centre back and forgetting what sort of decrease I needed to do I did some fiddly things with my markers.

I have little gold and silver stitch-markers. 


The gold went on the right and the silver on the left.

And at the centre back I placed one of each 


When I cast off the neck band I encountered a problem, my usual simple cast off was going to be too tight.  So instead I used Judy’s Super stretchy bind off. 

At the beginning of the cast off row begin by casting on one more stitch, place the stitch back on the left hand needle.
Knit 3
Pass stitches 1 & 2 over stitch 3
*Cast on one, K2, pass stitches 1&2 over stitch 3**
Repeat from * to ** to the end of the row

This gives a lovely neat looking cast on edge that although being very stretchy lies nice and flat.  BUT there is one problem and I will come to that later.


When it comes to picking up stitches for a button band the actual number is less important that that the band should fit nicely, not stretched nor puckered and the stitches should be evenly spaced. 

I began by measuring the length I needed for the band (from neck cast off to bottom cast on edge) and checked my row gauge in garter stitch.  The number of rows to the inch in garter stitch can be greater than in stocking stitch (mine certainly are). 

Having done the maths I found I needed 71 stitches to make a well fitting band.  Although this is close to the pattern it is also a little surprising as I made the body of my cardigan 1.5 inches longer than the pattern.  This confirms how important it is to check your tension.  After checking the total number of rows in my sweater I hit on picking up a stitch every other row on the garter stitch sections and every 2 in 3 of the stocking stitch.  It worked! 

It was not till I was about to cast off that I came upon the snag of using such a fancy cast off stitch (this would not have happened if I had stuck to a plain and usual cast off but been careful to keep my work loose).

I had the lovely cabley type bind off up the front and around the neck but now on the edge of the band itself I had the plain old garter edge-of-row-ness.  Ugly?  Yes!  There was nothing else for it but to rip it out and begin again . 

After a lot of thought and 2 more lots of frogging (ribbit, ribbit) I worked out how to make it look pretty.  Firstly I left off one stitch at the neck edge on the original pick up.  Then as I cast off I picked up just two stitches along the upper edge (where there was a little step from the missing stitch), cast then off together with the front edge stitches and when sewing in the ends blended them in with the neck edge cast off.

Phew!! It now looks like this


I made the second band in the same way, because I had 70 stitches it was easier to make 7 button holes.  And here’s where the serendipity comes 
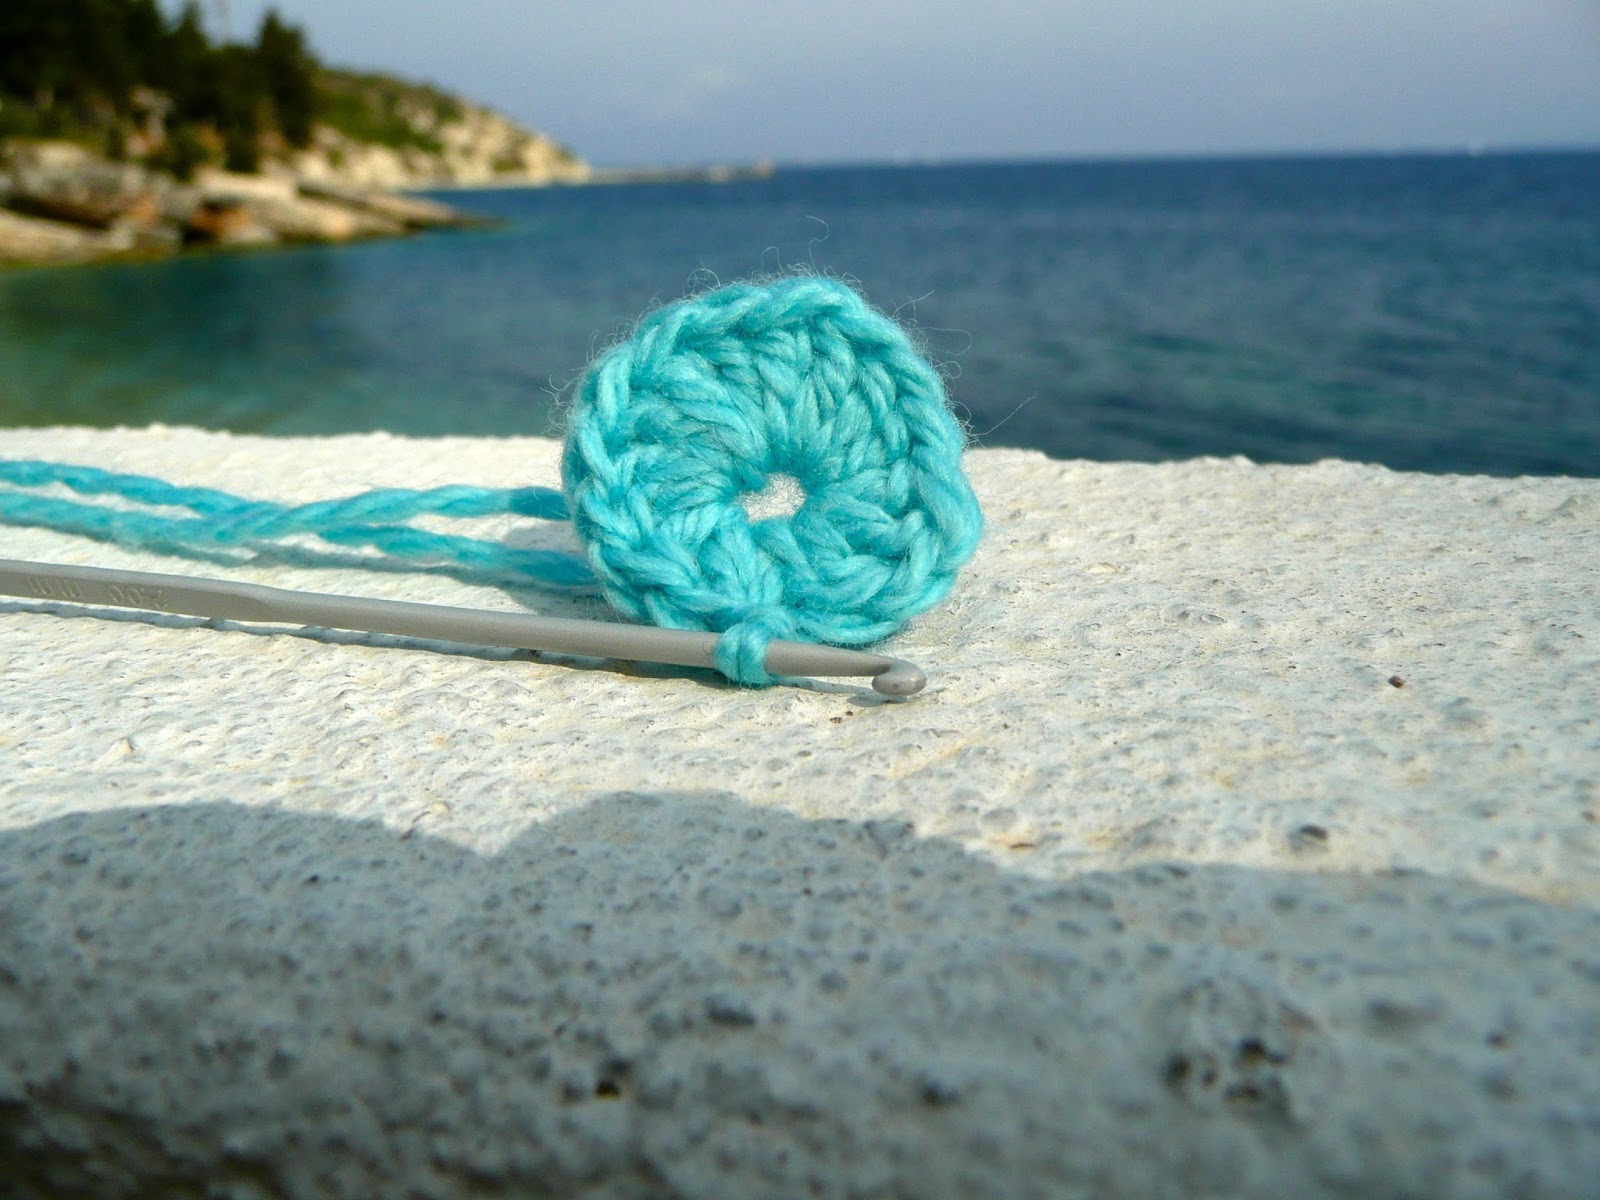
in.  As you know I am staying on a small island in Greece, we have no haberdashers so improvisation comes in.  I don’t want to give away my solution for the no-buttons-in-the-shops situation at this point but I do need to tell you I am basing them on 1cent Euro pieces. 

I had a feeling I would need larger button holes than the ones formed by K2tog YON so I knitted a little swatch.  I was right.


The larger button holes are made by a method I once read on a blog by Mary Scott Hoff, a wonderful  colour-work knitter and blogger.  This is how she does it

Row 1 – k2tog, YON x2 
Row 2 – k to the double YON, knit one loop and drop the other (you will have a nasty gaping hole!!)
Row 3 – K to the nasty gaping holey stitch and knit right into the hole (taking up the stitch and the one below it in one)

And there you have it – the button hole will be a nice tidy round hole that is big enough for a fancy button.


More about the buttons and some extra embellishments in the next blog

Meanwhile, the evenings here at the beach are just as wonderful as the days and we have found a new way to spend them, sitting on the beach with a bottle of chilled wine, eating spanakopita and baklava straight out of the paper- bags.


Guess where we shall be having supper tonight?

xx

C

Monday 9 September 2013

Recalculations


my knitting is colour coordinated with the plants in the garden


Yesterday, I got up some speed and completed the body of the cardi  adding some small modifications of my own.  Because The Little Model is so tall and slim she looks better in clothes that are slightly A line.  So I cast on 20 more stitches than the 24mo size required and decreased 2 stitches at the side seams (by SSK, K2tog) every 10 rows.  I then had the required number of stitches by the time I reached the point where extra inches can be added to the length (I added 1.5 inches).  I had been worried about running out of the main colour yarn so added four more rows to the garter strip at the beginning too.  I didn't run out but it was a pretty close run thing (only the unravelings of my swatches left)

showing the decreases to create an A line

Next came the joining up of the body with the sleeves.  Despite adding more stitches to the underarm section (placed on spare lengths of yarn) it is still quite fiddly.

The tricky bit is adding in the sleeves, you effectively have to make a 9/10  circle into a straight line.  I suggest you put your sleeve stitches on one cable and use a good long cable for the cable you are knitting on to.  Knit the required number of stitches from the right front then arrange your sleeve stitches with a loop of cable peeking out of the stitches half way round (a little like the way stitches are held for magic loop), knit off the first half stitches then rearrange the second set and knit those (remembering to reserve the 6 underarm stitches from the sleeve and the body).  Pul a loop through at the middle of your knitted stitches if you need the extra flexibility. Knit the back stitches, then the sleeve, in the same semi-magic loop way, then the left front.

All Done...  Now comes the placing of the markers.  I am working from the revised pattern.  Stephanie explains the placement by purling back along the row in your main colour placing markers as you go.  Alas in the 24 mo size the stitch numbers and intervals are not right.  SO I got out my calculator and a new set of markers

recalculating my holiday reading behind (great read!)


The pattern says you should have 120 (128, 136, 152, 168, 184) sts  but by my calculation I think it should be 120 (128, 146, 160, 178, 192)

Looking back at the original pattern and checking where the markers should be in relation to the shape of the yoke rather than counting stitches, here is my suggestion for placing the 9 markers based on position rather than stitch count

Begin from the centre back and work towards one side at a time placing :-

M5 - midway on the back section
M4 - 2(1, 2, 2, 1, 1) stitches from the point sleeve joins back
M3- on the mid point of the sleeve
M2 - 1 (0, 2, 1, 1, 2) stitches into the sleeve, from the point sleeve joins front
M1 - the M1 - M2 interval is  the same as between M4 &3 

Place Markers 6,7,8&9  in the same way along the second side

And I'm ready to go, although I'm now off for a swim, lunch and an afternoon lazing around in the sun, perhaps reading the odd chapter of my book.

Last night we meandered the back streets of a nearby town spotting

pretty balconies

classical architectural detail (this one's for JTH)

Bright colours

and dwellings ripe for conversion.


xx

c


Friday 6 September 2013

RIght as Rainbow KAL - the sleeves


DPNs or Magic Loop?

Kathleen and Rachel are using a different method of knitting in the round to me.  Have a look at the photos Kathleen and Rachel have posted on Ravelry and see what I mean.  They are knitting magic loop I am using my new wooden DPNs.

DPNs are the original way of knitting in the round, once used mainly for stockings and some bigger projects like a fisherman’s sweater, today knitting in the round is used for many other items, including sleeves.  At one time if I knitted with DPNs, however hard I tried to pull the yarn tight, I always got a ladder between needles.  Then I hit upon the idea of knitting on one more stitch from the next needle each time – result? A spiral ladder!

Then someone told me about magic loop.  Magic loop IS magic, you can even knit two socks (or sleeves) at a time with two pairs of circulars (or one very long cable).  And I magiced magic loop at every opportunity (even cardigans, steeking the tube for the front opening.)

But two years ago I was at a knitting retreat and the conversation turned to the DPNs-v- magic loop debate and one DPN loyalist shared a trick with me – don’t pull the first stitch tight, keep your tension even, but pull the second stitch as tight as you can.  And Lo! It works.

That brings me to my decision to knit the Right as Rainbow cardi sleeves with DPNs, and even buy new DPNs.  It was because with my newly learned trick of tightening the second stitch I have a choice –  and because The Pattern Said So! But of course who needs the slightest excuse to buy new knitting hardware?

increases nearly done and measuring nervously


So I cast on the sleeves one at a time on DPNs.  Then halfway up the first sleeve we all received an e mail from Stephanie with a revised pattern.  Rather than read it carefully I (wrongly) assumed that the mods would apply to the stage where the three pieces, body and two sleeves were joined.

As I neared the finished sleeve length (1.5 inches longer than the pattern stated) I panicked.  I thought I would not have enough length left to incorporate all the increases, measured again found I would be OK.  But I worried that those making one of the standard sizes would not.  I rushed to Ravelry to suggest people checked their gauge again and if they had fewer rows to 4” than the pattern gauge required they increased every 4th not 5th row.  I would be OK but others knitting in the lovely S&C Sweater may not.  Then I checked the mods!!!  In it Stephanie advised reducing the increase interval to 4 rows instead of 5 and adding more stitches.  In  the 24mo size , 4 more.  Because of my increased length I just got the required number of increases done!

But – egg on face- I had to go back to the ravelry thread and confess my haste and refer people back to the mods.

first sleeve done and ribbing completed on the second


Having said this while Stephanie says her mods are optional and the original pattern is equally lovely I would suggest if you are knitting in the S&C Sweater, which knits up to a slightly thicker gauge, you do follow the mods.

Meanwhile, I continue to knit on the terrace at the sea-shore and I am being watched as I knit.  The locals are interested – I wonder if they would like to grab and play with the yarn as our own cats do?

watching from high up on the garden wall


It was ever the same, show a little interest in the locals, perhaps throw them the odd tidbit and they stay and invite their friends.

Mama cat, kitten cat and ... a close relative

(Six at the last count)

x

c

PS - Do tell how you are getting on - are you knitting the sleeves with DPNs or circulars, are you knitting them both at once?  It would be great to see pictures of your progress too.  Lastly don't forget what you need to do to qualify for one of the brilliant prizes

Wednesday 4 September 2013

...steady go!


Cast on day and I’m up early ready to start.  But first to sit on a rock at the end of the beach and watch the sun rise.  It’s something I love to do when on holiday, sun-up today was at 7.15 local time (two hours ahead of the UK)  so not too hard to get up before the cicadas, just as the sky behind the hills on the mainland began to glow pinkly,


then watch as the sun rose over the mountains laying a golden road over the sea


Back at the cottage, supplied with coffee I cast on at about  8.30


TECHNICAL POINT – I liked the designer’s method of joining the stitches into the round.  She explains (with an illustration) how to drop the first and last stitch and swap them around, twisting and securing the join which avoids a nasty gap.  I have also found casting on one extra stitch, slipping that across from needle 3 to needle 1 and beginning the first round by working 2tog.


By Breakfast time I have completed the ribbing and knitted up to the first increase.


Please let Kathleen and I know how you are going  (Comments on our blogs or on the ravelry thread, tweet at #RightasRainbowKAL )– AND don’t forget, we are not racing, you can join any time up to the 28th!

xx

C


Tuesday 3 September 2013

Ready...

The KAL begins tomorrow! And I'm ready! The cast on and borders will be in the green and the body in the gorgeous plum colour. 


I have lovely smooth wooden DPNs from Brittany too


This is my knitting chair


And this my view


I agree, I'm very lucky!
Back tomorrow for the cast on

xx

c

PS  Make sure you check out Kathleen's blog to see what she is up to and what colours she chooses