Pages

Tuesday, 19 March 2013

Big Knitting

I have not joined in with the annual World Wide Knitting In Public Week before but the plans for this year's event in my town have grabbed me and I've Got Involved.  I have knitted a lot of letters and long snaky strips of garter stitch,


played around with knitty lettering


and agreed on a logo (BBK stands for Basingstoke BIG Knit, a shameless take on the Basingstoke Big Wheel that takes place in our town each year)


The plan is that many local knitters will knit in our town centre shopping mall at the end of WWKIP on 15 June 2013. We have permission and will try an knit a blanket from start to finish in one day which will be a comfort blanket for the day room at our local hospice St Michael's We hope people will pass by and marvel at our efforts and also donate to the hospice (we will have buckets at the ready).  

We want to have fun, encourage people to knit (there will be baskets of yarn and needles already for people to have a go) and raise money for a local charity that looks after us when we or our friends and family needs it most.

We have a Ravelry group and a facebook page.  Please visit and join (or 'like').  Even if you don't knit and don't live anywhere near Basingstoke (but if you do and are in a knitting group we will be in touch) we would still love to feel your support.  And if you do knit but can't join in on the day you can still make some squares, leave a message in the comments section and we will let you know where to post the squares to.

The squares should be 6" knitted in double knitting yarn (or something close).  You can cast on aprox 34 stitches on size 4mm needles and knit straight


Or begin with one stitch, knit into the front, back and front again (3sts) then k1 m1 at the beginning of each row until the sides measure 6" then k1 k2tog at the beginning of every row till you have 3 stitches then s1 k2tog psso cast off


Knitted diagonally or straight, with or without a little pattern, every square is welcome


xx

c


Tuesday, 12 March 2013

Leafy Knitting Goodness

Something very unusual happened the morning when  I downloaded my copy of Botanical Knits by Alana Dakos of Never-Not-Knitting.  Instead of the usual casual glance over my shoulder to check whether I was reading facebook or checking my blog stats AGAIN JTH seized the IPad and began scrolling through The Entire Book, he was really enjoying it.  Now this is more than a rarity  it was (until this morning ) a Never Event in the chopkins household.  JTH is quite happy for me to knit, will even admire some newly acquired skill "Look! i-cord" politely but he is most definitely not interested in knitting books.  However, he loved this one and once I got my hands on it I could see why.


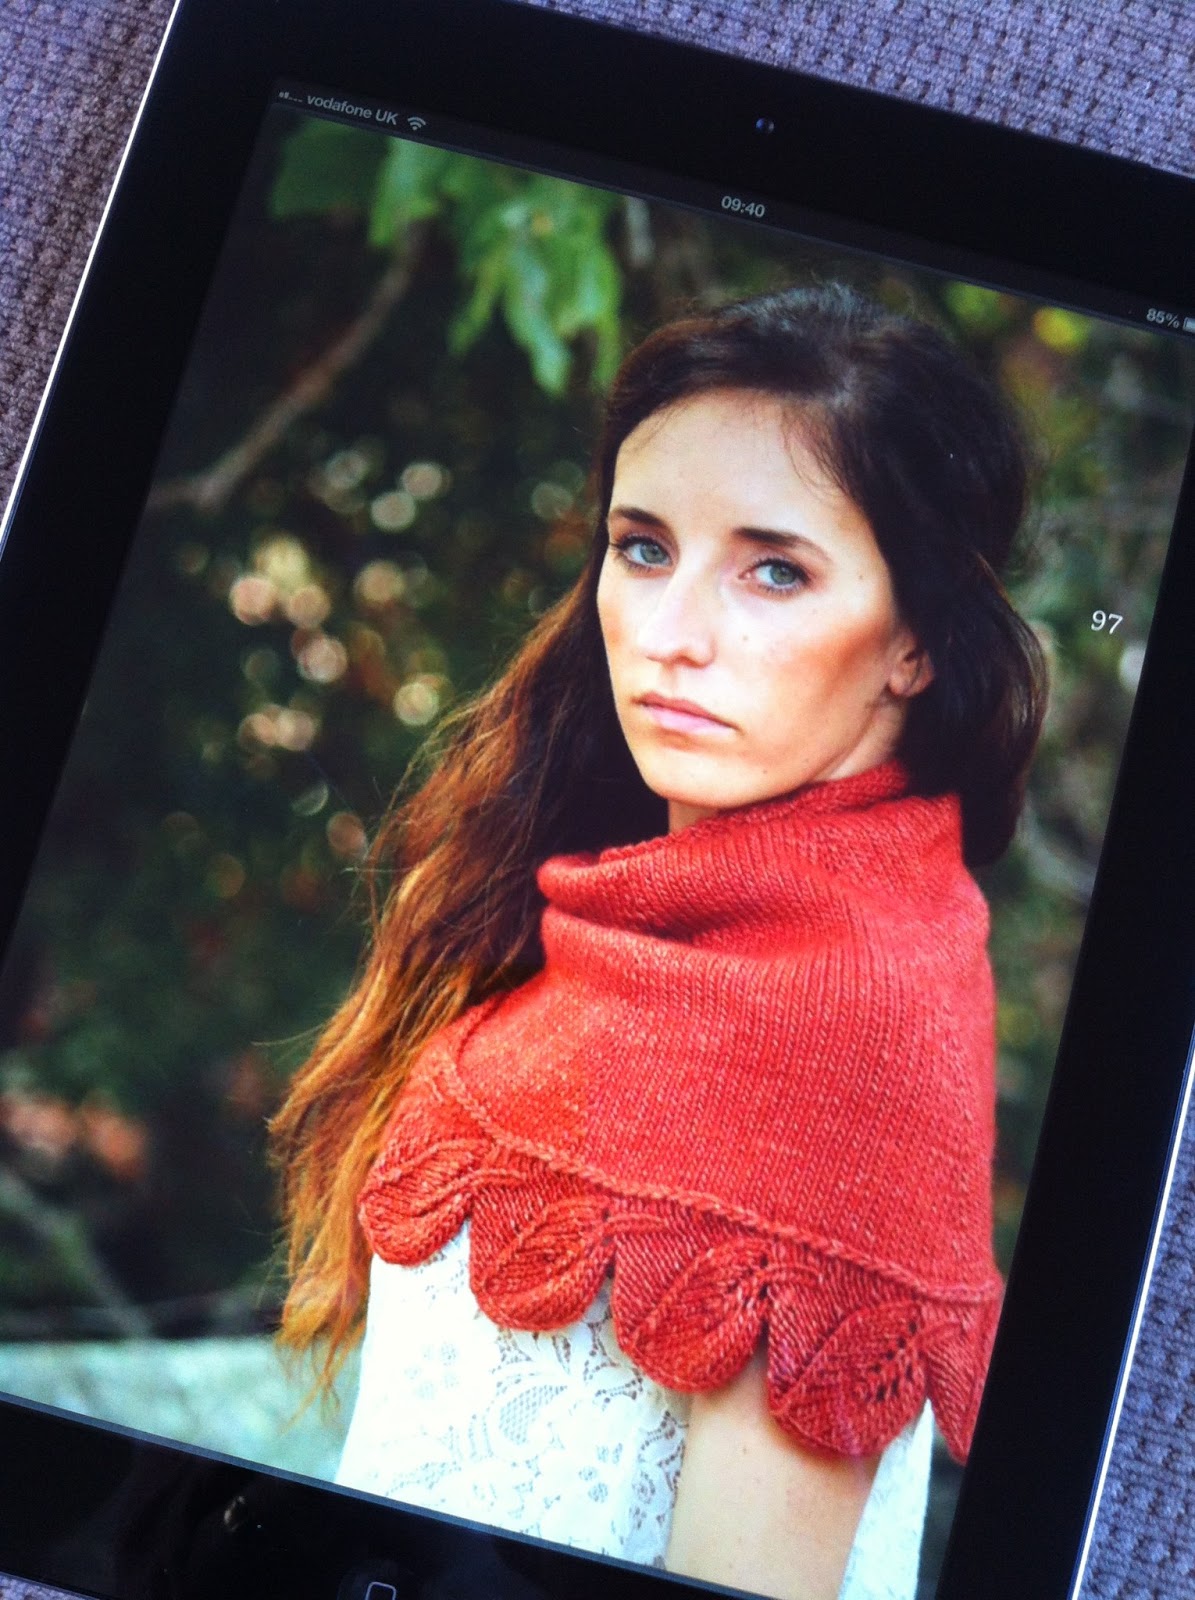
The photographs are beautiful (JTH also remarked on the model)


The sweaters are arranged in tempting piles and the accessories casually draped about


The artistic poses still show clearly exactly what each piece looks like (don't you just hate magazines where the shot is so pared down you cannot see the clothes they are trying to portray?)


More beautiful pictures at every turn


Elegant layout (there are even instructions on how to knit the tiny leaves)


And clear charts (instructions in words too but so much easier to knit from a chart)


The book is truly a thing of beauty.  But if you have read one of my reviews before you will know that I believe in trying out a pattern or two before passing judgement.  I chose to make the oak trail cloche hat


The yarn is the inky blue alpaca/silk mix that I bought a few weeks ago at La Droguerie.  The construction is quite unusual, one of the things that attracted me to the pattern.  The band that ends in the oak leaf is knitted as a long narrow strip and then the stitches for the hat proper picked up along one long edge.  The oak leaf is incorporated into the body of the hat as you begin to knit in the round on a short cable needle.  My hat was finished in no time.  Alana advises changing to DPNs as the crown narrows but not having DPNs in the right size I switched to magic loop method which worked perfectly fine.  The instructions were clear and everything went together easily.

Once made it was a very snug fit.  I knew the band was the right circumference , the advantage of knitting with a cable means you can try on as you knit, but it just felt a little small.  I slept on it (metaphorically speaking)  I hate frogging and avoid it at all costs but in the cold light of day I knew the hat would be better for another inch in the body.   So I frogged back to the beginning of the crown shaping, added another inch and recommenced the crown.  It was actually done in no time and this time, after a soak in Eucalan a perfect fit


(worn here with the motif a little further to the front to make photographing myself easier!)

If you would like to see more of this leafy loveliness, there is a thriving Ravelry group where there are knit-a-longs for almost every pattern and my friend Claire (who told me about the book in the first place) has already finished the twigs and willows cardigan and has begun another!

Love it - love it- love it (book and hat).

xx

C


Tuesday, 5 March 2013

The Lendrum and a plea for help

I have signed up for an entirely new experience, I am going to learn to spin and this is my new baby


This is one of my mother's wheels, the other a traditional Ashford sits in my sister-in-law's dinning room waiting for her to learn too.  When my mother was alive I was not particularly interested in spinning, I did have a go one day and was rather impressed that Mum could spin but I preferred the local yarn shop experience of wandering the shelves marvelling at the colours and feeling the textures.  But it seems to me that if you are a yarn junkie then one day you have to face up to the ultimate fibre experience - spinning


Until last evening I did not even know what sort of wheel it was - all was revealed by scrolling through Google images of wheels until I found one that looked similar to mine and by following the links I am fairly confident it is a Lendrum.  But that is all I know and before I take my wheel to my first spinning class I would be so very grateful if any of you lovely readers of my blog could help me a little.

The wheels I found by my Google search seemed to have two pedals - mine has one, what is the difference?


I found one YouTube clip that showed the 'top bit' had less hooks than I have here - are all these used when threading the lead yarn?


Have I got the back knob in the right place (It had some yarn wound around it which seems to help it to lock in place)


And - is there a list somewhere of what all the parts are called?  Can I buy a hookey thing somewhere or do people improvise with a piece of wire?  I think this hook is the only bit missing, what do you think?

Finally are there any YouTube films that you would recommend for me to learn a bit more before I get to my lesson?

I'm itching to begin, so if anyone could help, I would be ever-so happy.  I have this basket of billowy alpaca


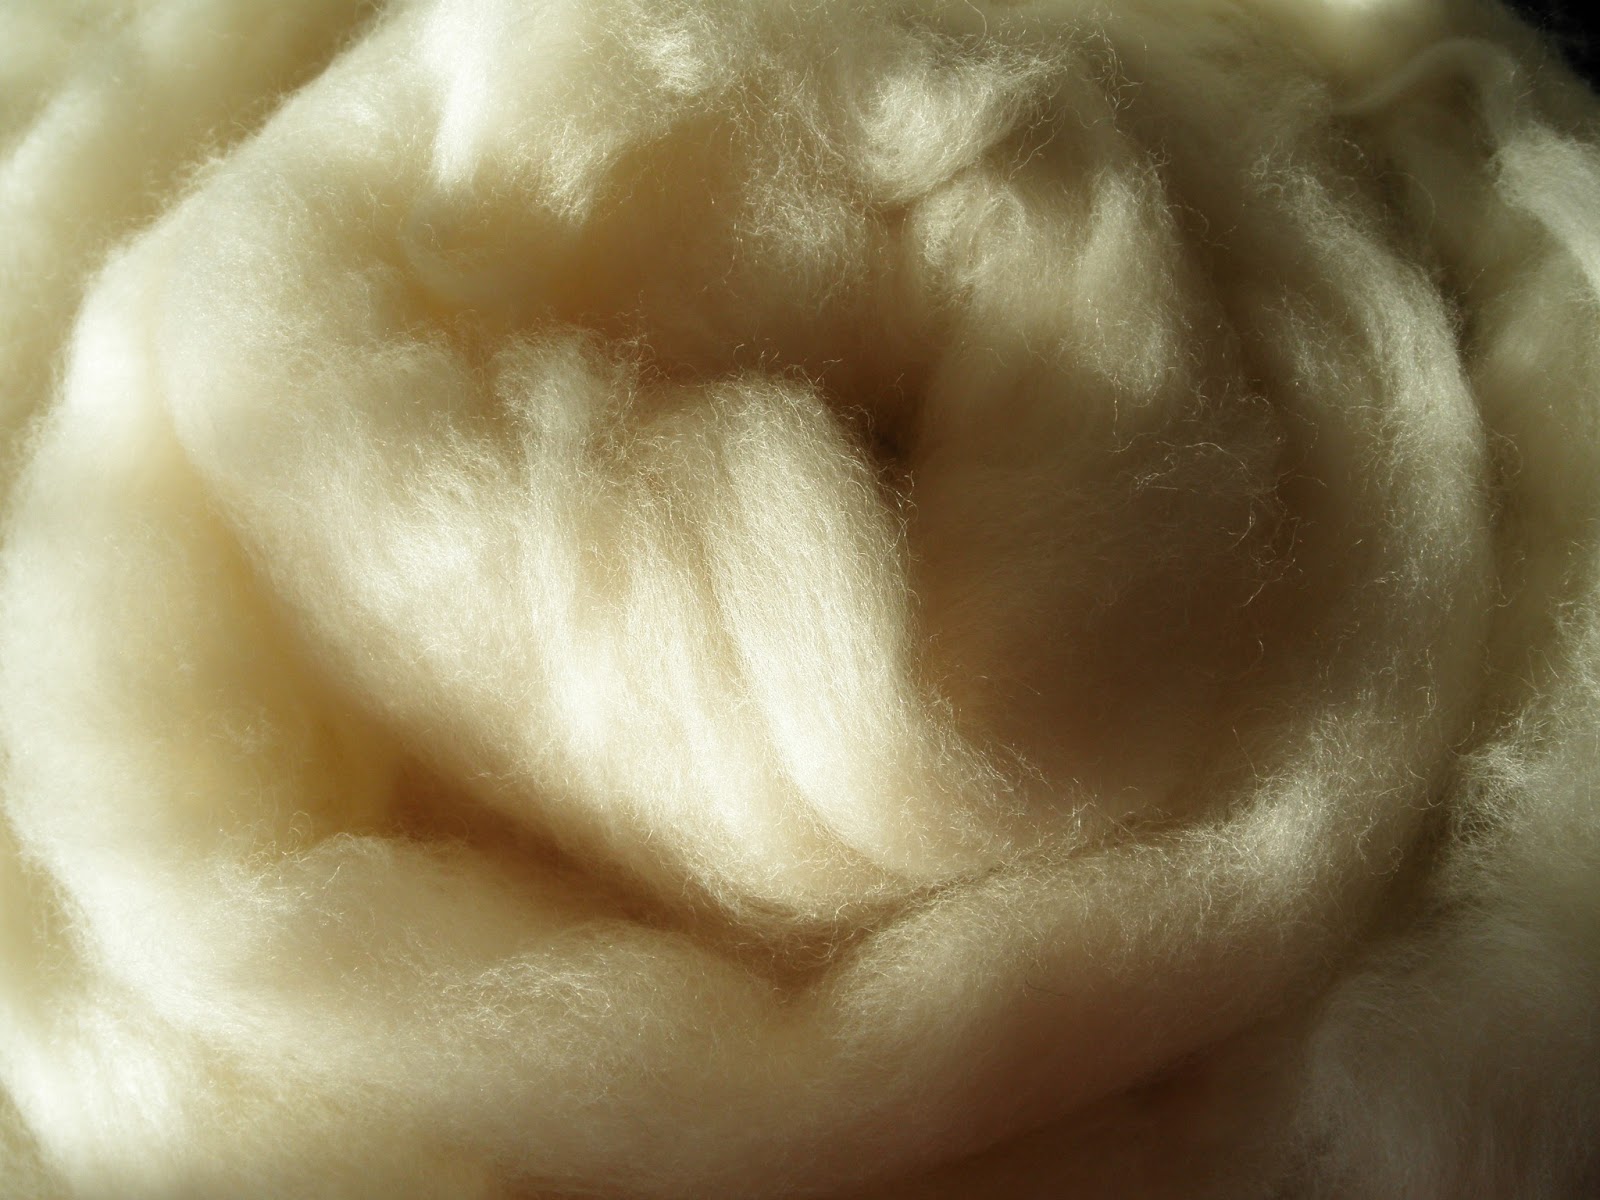
And this bowl of creamy BFL - all ready to go


xx

c


Thursday, 28 February 2013

Bunting

I'm knitting bunting.  It's for a big event that my friend Jenny are organising in the Summer.  It's not our event, it's a world wide event, but we are organising something locally and (we hope) persuading as many people as we can to join in.  We aim to have fun and do some good for a local charity.  More details later and back to bunting, we are going to need a lot and it will take a while to make, so we need to begin now.


Instructions

Materials
a quantity of double knitting yarn in lots of bright colours plus one ball of similar yarn in aran or chunky weight (I am using stylecraft special double knitting and chunky as it is such good value for projects like this)
one pair of size 4mm needles
one long cable fitted with a 4mm point at one end and a 5mm point at the other (the odd needles are not essential but you will see later in the instructions how this helps)

Abbreviations
K - knit
Kfbf - knit into the front, back and front again of one stitch (makes 3 stitches)


knit the first pennant
Cast on - Make a loop with a slip knot and knit one stitch in this loop, pull the loop tight and turn your work.  Continue as follows

row 1:               Kfbf (3 sts)
rows: 2,3,4:       knit
row 5:               K1, Kfbf K1 (5 sts)
rows 5,6,8:        Knit
row 9:                K2, m1, K1, m1, K2
rows 10,11,12:   knit
row 13:              K2, m1, Kto last 2 stitches, m1, K2


Repeat rows 10 - 13 until you have 31 stitches
knit 8 more rows straight
next row: cast on 30 stitches and slip all 61 stitches onto the cable*


Knit as many pennants as you need slipping each one as it reaches stage * onto the cable in such a way as the pennants are separated by the cast on stitches. Join them together as follows

Hold the work on the cable needle with the cast on stitches to your left and using the DK yarn cast on 30 stitches.  You will now have all your pennants hanging on the washing line of your cable with a set of 30 cast on stitches on either end.

Using the 5 mm needle and the chunky (or aran ) yarn cast off all the stitches in one go, when you come to the join between the pennants k2tog to make sure your line is strong an secure

If you are knitting the bunting as part of a group you can each make a section and tie them together


xx

C

PS I have finished my Marmalade Sweater, more photos on my Ravelry page


Tuesday, 19 February 2013

Une petite diversion

train to Paris
on show: fabric, yarn and more
last thursday

And some may have thought it a little eccentric but it was fab.  My friend Jenny stayed the night, we got up at 4.30, drove to St Pancras and by 6.45 were sat on the 7.01 Eurostar for Paris with our knitting bags open bound for L'aiguille-en-fete .  You are no doubt thinking what was I doing going to an event in Paris when we have good shows here ( I shall be at Unravel on Saturday AND Sunday this week) and after my stash related confessions do I really need any more yarn?

no I don't but I bought a little anyway!


Well of course it was not at all necessary, I have made the journey many times and don't need the yarn. But as a lovely old friend once said on buying books 'insufficient time to read a book at the moment has never seemed sufficient reason for not to buy one if I like the look of it'  and this applies equally well to me (both in respect of yarn and books).  No we went because it would be fun!  And there wasn't just yarn...

There was patchwork

through a veil of ribbon and rick-rack


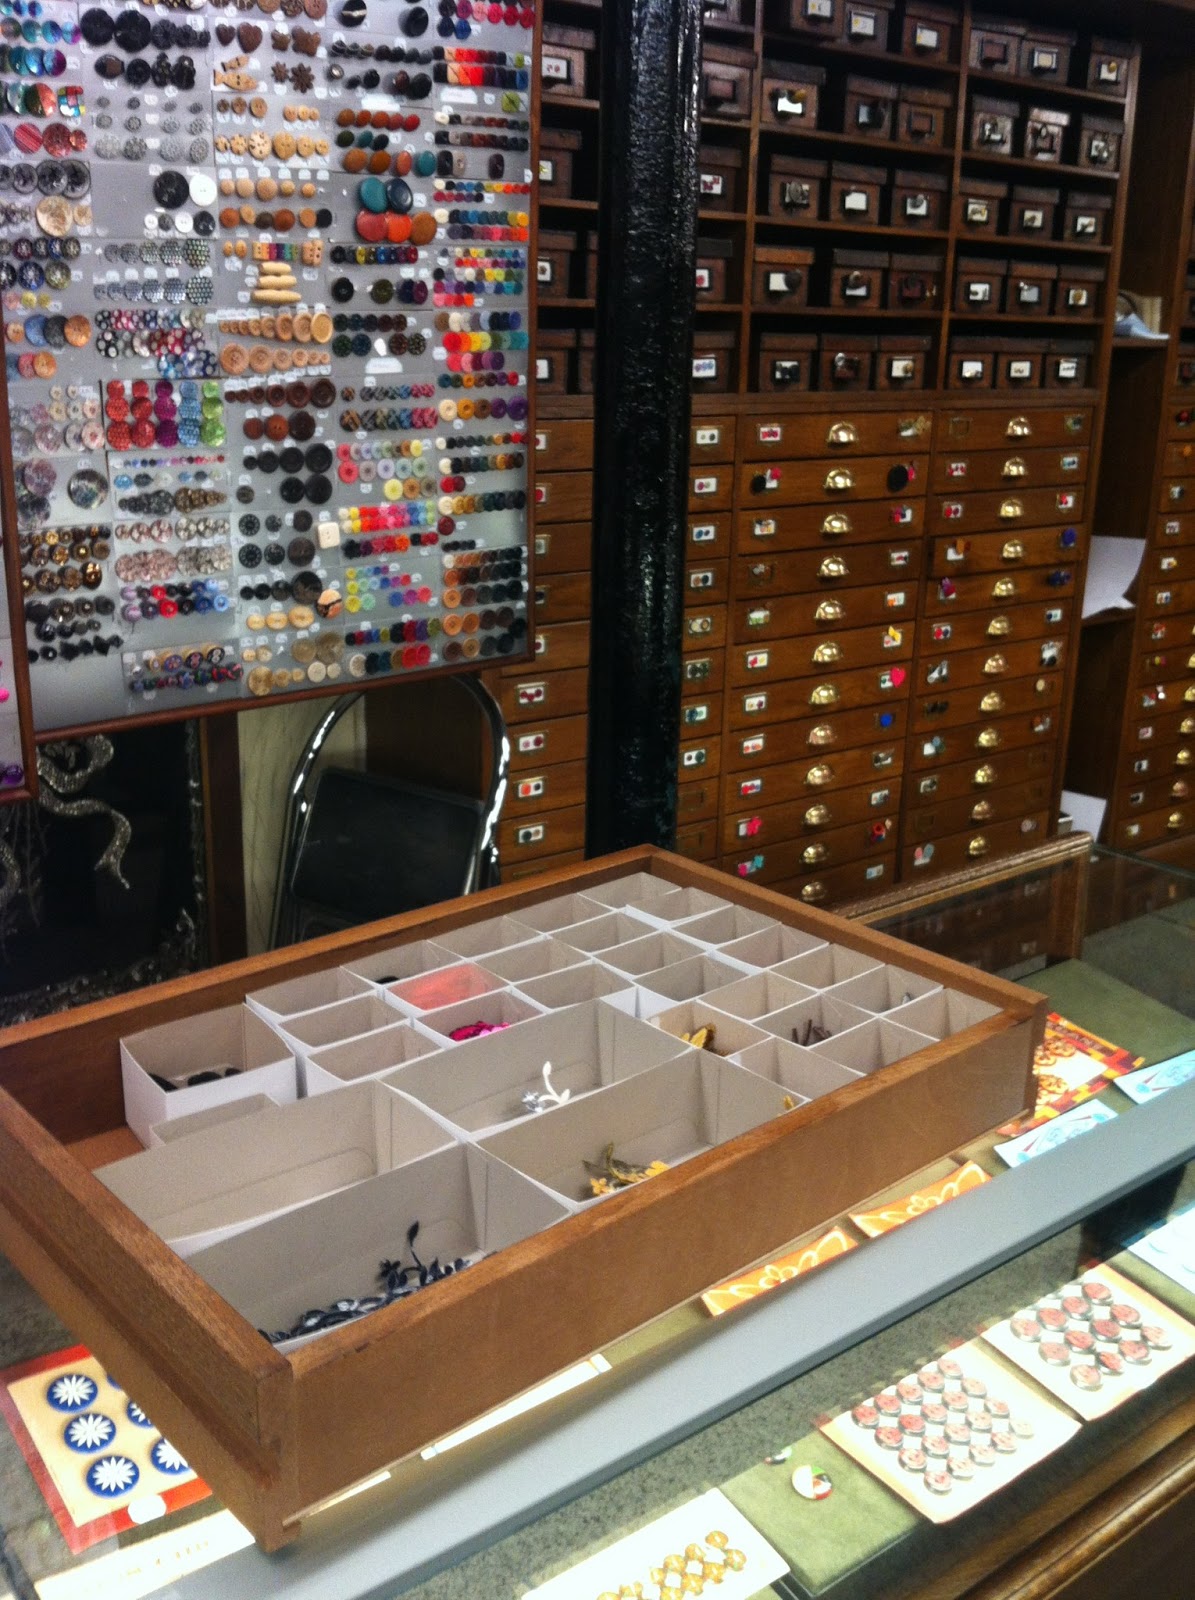
Buttons and beads

so many buttons

Felting

felted and netted


Some humour

Lamb jointed

non calories - sed crochet


AND yarn and yarn related things in abundance

yarn dyed where it 'grew' in the south of France

the most beautiful thing I saw that day


not to mention a speed knitting competition.

I was too shy to join in


We wore our feet out but we saw everything and had time to visit La Droguerie. in Les Halles.  I can't believe I didn't leave enough battery in my phone/camera to photograph the yarn (I cadged this from Jenny)

all the yarn is displayed in skeins


but I was so taken by all the other stuff, including the ceiling high stacks of tiny drawers containing knitting related haberdashery that that once contained pills and potions.  I just kept snapping until suddenly my phone screen went blank.

the shop was once a pharmacy


Then Alli saw the perfect little cardigan, but in a child's size so I promised to try and adapt the idea to her size.

I have got this far

one button - a ceramic flower


Rather than swatch I decided to knit a cardigan for Velma (the little Model's second best doll who has been missing out on new clothes lately)  Much less to rip back when modifications are required.  As you can see it's a simple classic shape, in garter stitch, short rows, all in one piece, knitted from edge to edge.  You may think Velma looks rather shocked but that is just her usual look.

eyes wide open


I am working out the numbers but in a week or so the pattern will be up on ravelry.  The pattern will be free but there will be a small charge for the calculator which will enable you to  make it in literally every size from small doll to large lady.  All you will need to do is enter your gauge, bust and length measurements and Hey Presto - you will have a tailor made pattern

xx

c


Tuesday, 12 February 2013

The senators helmet

I'm super smug - I have finished my first self imposed sock yarn challenge and begun the second from a lovely reader (more of the latter later).  As a sucker for sock yarn and not someone that needs more than one pair of socks a day I have stashed more sock yarn than I can use in a life time... soooo I determined this year to knit a non-sock-item for every pair of socks.

This week I designed and finished a hat for The Little Senator (AKA The Little Model's Younger Brother but I have decided this it too much of a mouthful). 


The style is a traditional helmet with ear flaps, extra depth at the back to keep  little necks warm and a bobble on top.  The difference is it is double and knitted all in one piece.  That's right NO SEAMS AT ALL.  Beginning with the ear flaps that are knitted in the manner of two sock toes, the back flap is joined in next, followed by the front.  The main body of the hat which is knitted in two parts, the outside then the lining.  

INSTRUCTIONS

Materials - 100 g of any sock weight yarn
Needles - two pairs of cable needles with 3.25 tips and longish cables
Tension - 7.5 stitches to the inch (10 rows to the inch but that is not crucial as you will see as the work proceeds)
Size - the instructions are for an 18 inch head circumference (finished measurement 17 inches allows for a snug slightly snug fit) Measure your hat recipient around the head just above the ears and adjust the number of stitches evenly across the sections for a larger or smaller size
Special techniques (with thanks to YouTube)  - Judy's magic cast on (JMCO)
                                                                          Magic loop knitting
                                                                          Knitting in the round on two circular needles

And begin

Using JMCO, two separate balls of yarn and both circulars, cast on two sets of 20 stitches as you would for knitting a pair of toe up two at a time socks. These are the ear-flaps

cast on 2 sets of 20 sts

Holding your work ready to begin, mark the beginning of  ear-flap 1 with a stitch marker, that way you will know when you have completed a full round. Knit one complete round (the order will be knit 10 stitches of ear-flap 1, 20 stitches of ear-flap 2 then 10 stitches of ear-flap 1).  This is the set up round

Round 1 - beginning with side 1 ear-flap 1 *K1 M1 k to the last but 1 stitch, m1 K1.  Repeat from * for sides 1 & 2 of ear-flap 2 and side 2 of ear-flap 1

Round 2 - knit

Repeat rounds 1 & 2 until each ear-flap has 60 stitches (30 a side) .

Continue straight  (K all rounds) until the ear-flaps measure 2 inches

ear-flaps complete


On a spare pair of 3.5mm needles cast on 60 stitches for the back-flap using JMCO.  Join these stitches into your work as follows

Knit side 1 of ear-flap 1
Knit side 1 of back-flap
Knit side 1 then side 2 of ear-flap 2
Knit side 2 of back-flap
Knit side 2 of ear-flap 1

stitches for back-flap inserted


You now have 120 stitches on one continuous round.  Using either the magic loop method or two circular needle method knit until the back-flap section measures 1 1/2 inches

Now on your spare pair of 3.5mm needles cast on 68 stitches for the front of the hat using JMCO.  Join these stitches into your work as follows.

**(Knit side 1 ear-flap 1, through side 1 back-flap and side 1 of ear-flap 2)
Knit up side 1 of your front stitches and join into a round at the beginning of side 1 again.  This piece will be the outside of your hat

You will now have side 2 of your ear-flaps, back-flap piece and of your front stitches left behind (this will become your hat lining) .  Place these stitches in the same order as ** above and either leave on a spare cable or a piece of waste yarn and continue on the outside of your hat

it gets a bit messy when the front joins in


Knit straight in the round until the work measures 5 inches from the front edge

Shape crown - Place six markers evenly around the knitting

Decrease round - ***K to 2 sts before 1st marker, K2tog, slip marker K1 SSK  repeat from *** five more times
Next row - Knit

Repeat these two rounds till 18 stitches remain

Next round - sl1 K2tog psso x 6 (6 stitches) removing all markers as you go

Outer layer done and beginning the linning


Break yarn and thread yarn through the remaining stitches and finish off

Join yarn to remaining stitches and finish as for the outer section of the hat

NB before you begin decreases for the crown check for any holes of gaps where you have added the various sections - if there are any holes repair invisibly at this stage as, once finished, you can never get at the wrong side again.

After finishing off the last 6 stitches pull both free ends of yarn to wrong side and finish off (that is all the sewing up you will do) and make a bobble fixing it to the middle of the crown.

bobble added

If you make this hat please post a picture in the comments (or a link) I would love to see what modifications or variations people think up

xx

c

Showing the symmetry of the decreases

 PS I am also getting ready to begin my second challenge, a plain grey sweater.  I am hoping to make this in two shades, dark grey for the body and light for the ribbing.  And I have even swatched!!  Well I had to as the yarn I intend to use is a totally different weight - so huge modifications ahead

a rarely seen swatch


Tuesday, 5 February 2013

Getting on with things

I had a Yarn Harlot Moment this morning.  Not a knitting one this time but a 'yes I really did see it and no I didn't get my camera out in time' sort of moment.

Yesterday a Sparrow hawk landed in our garden.  Not unusual if you live in the country but we live in the middle of a town, our bird visitors are chiefly sparrows and blackbirds, a blue tit counts as exotic!  And there is was lording it over our tiny garden (devoid of any other bird for fear of becoming breakfast for the hawk).  But I didn't have my camera, so no David Attenborough moment either.

I think I am better sticking to photographing things that do not move - like my over sized sock yarn stash!


in (nearly) every shade, and  texture but all sock weight

Which brings me to last week's challenges.  Several people made suggestions via Twitter and Liz of Tattered Creations left a great idea in the blog comments.  She challenged me to make a calm restrained item of clothing and not to be seduced by the usual bright colours (then teach her how to do it) .  I had said a couple of weeks ago that although my style of dress tends to be in neutral colours, relying on a bright scarf or necklace for colour, I can't seem to stick to this palette when I buy yarn.  But perhaps this from my stash will work.  It's single strand cashmere.  This yarn (bought on e-bay to mend a friend's gillet)  is the sort yarn used in commercial knitwear production but I think if I ply it (2 or 3 strands) I shall have just the right weight for a small short sleeved pullover.  Now all I have to do is step away from the fancy stitch patterns

100% cashmere in black, charcoal  and soft grey

Then Amy, the editor of Knitty.com suggested I knit a big 'kick-ass shawl' like color affection  Or perhaps even adapt a pattern myself to use three different colours, like these perhaps...


Donegal by Countess Ablaze

Finally there is my self imposed challenge to knit up as much of the sock yarn, perhaps half in socks but the other half as other small items.  The fun bit will be that with just small amounts of yarn the projects have to be small and that means they will knit up quickly despite the yarn being fairly fine.  I am going to begin with the hat for Titchy Scrunch (a nick name given to him by one of his big cousins and less of a mouthful than The Little Model's Little Brother) in this

Self stripe sock yarn by Regis

I plan to make a hat with ear- flaps made double and entirely in one piece.  I'll blog the pattern next week but in case you are wondering how I will manage such a piece of knitting engineering I will just say 'sock toes' and 'Judy's magic cast on'

Watch this space!

xx

c