Pages

Monday, 10 February 2020

This Quilt


Remember this blog post back in December 2015? I wrote it as I contemplated repairing a very precious quilt.  All that remained of the ancient english paper pieced (EPP) quilt (given to my daughter by her godmother) was a large ragged top, full of holes and with its tatters held together by rusty safety pins! The reds were particularly badly worn, in some places nothing left but a thin fringe of the original fabric, in all probability due to the type of dye used.
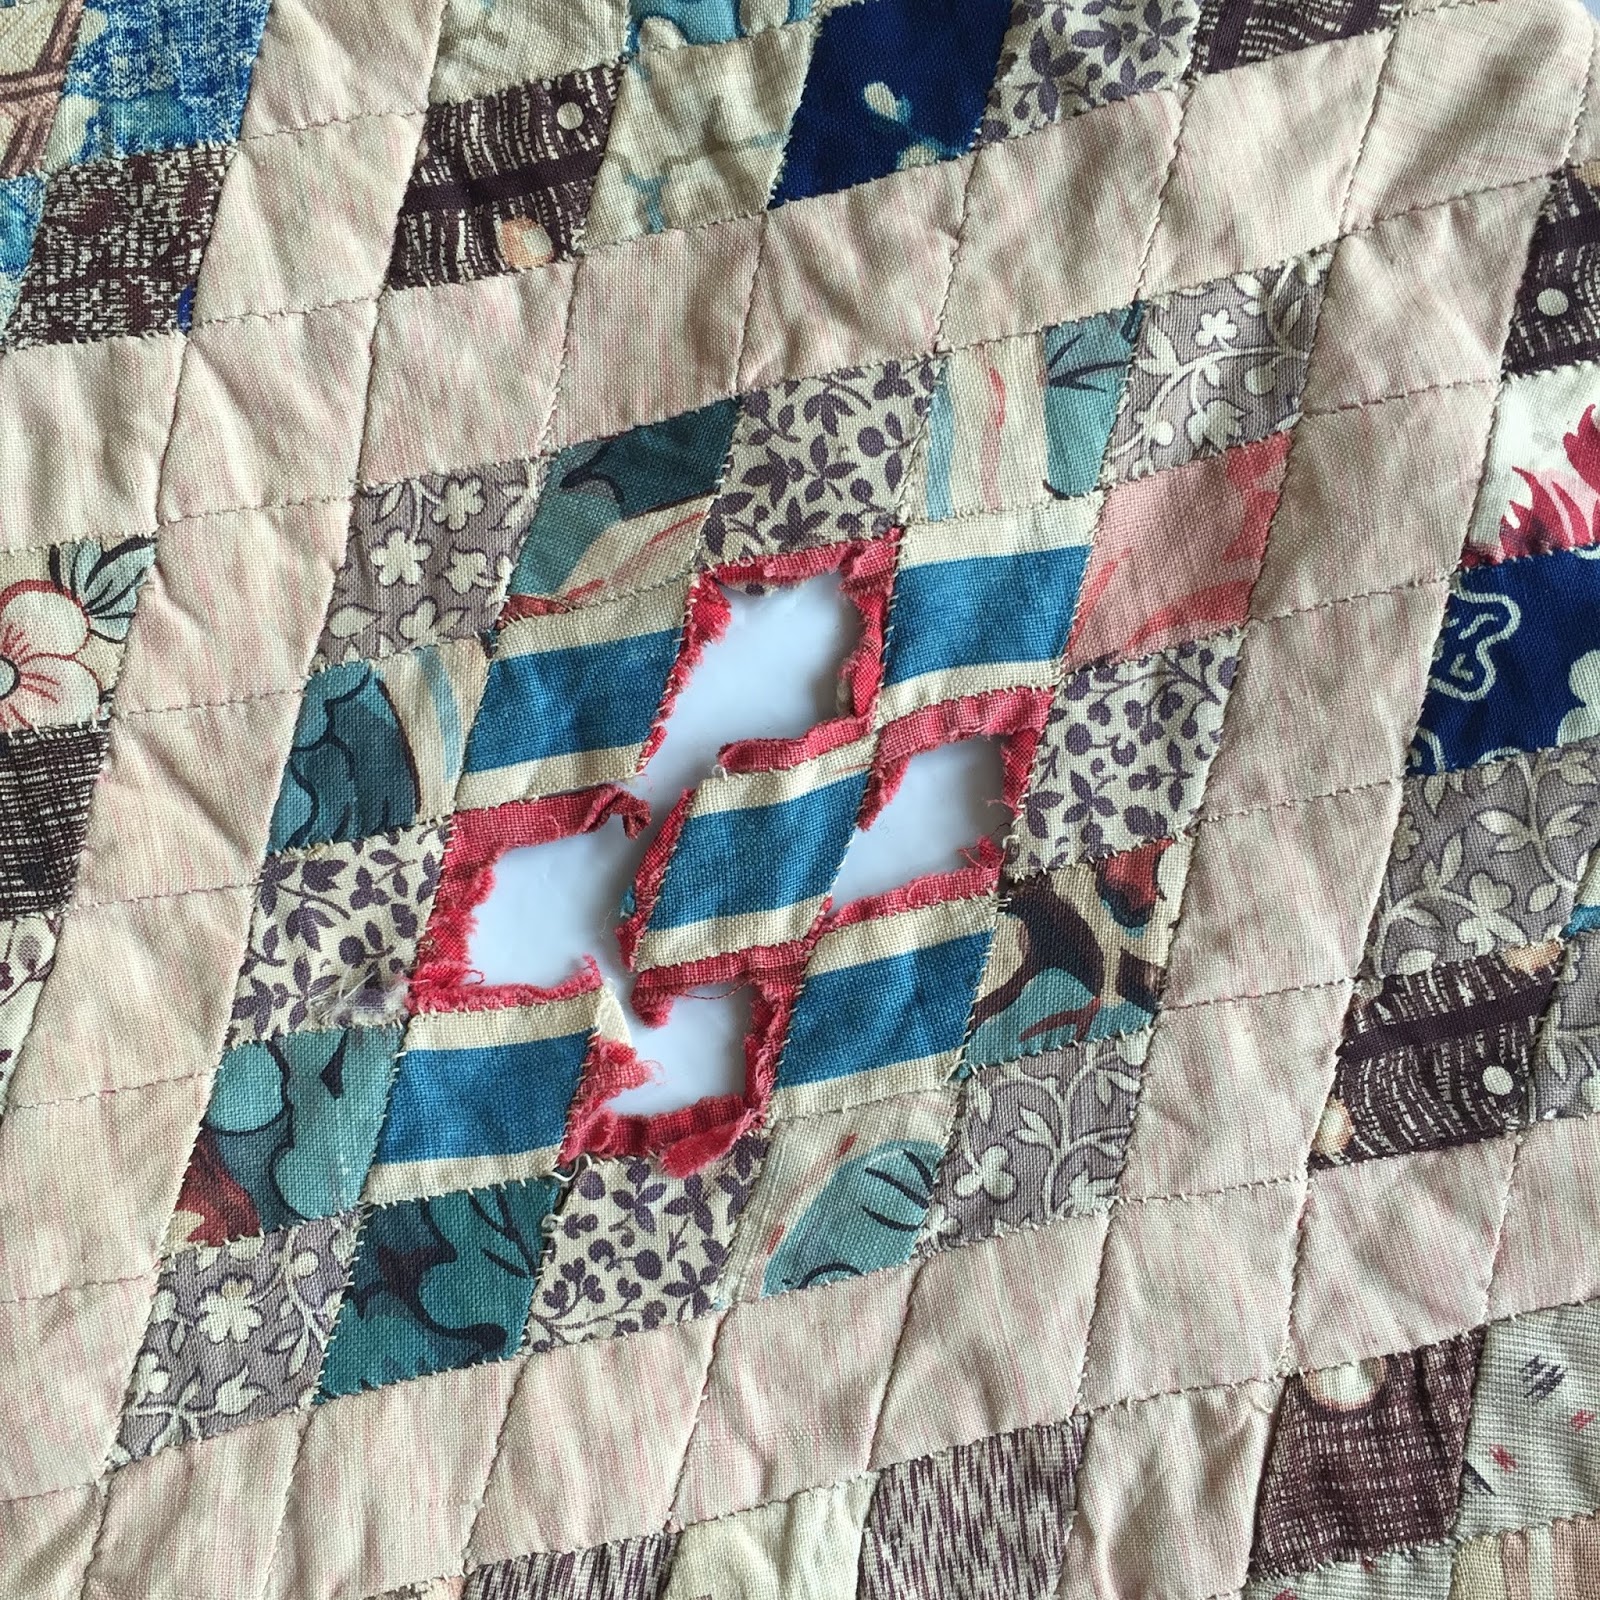

The task was pretty daunting.  I needed to fill in the gaps, sew down the tatters, put in new batting, a new back, and quilt!  I had a few ideas of my own too. But firstly I had to ensure that I did no further damage, the entire thing was so fragile, and large, that although all the work was going to be by hand I could not risk working on my knee.  

I bought a king-sized, organic cotton sheet, washed (in non-bio detergent) and rinsed it several times  to be sure there were no residual chemicals in it.  I also bought several half metres of Liberty Tana Lawn in similar colours to the quilt pieces and treated them to the same laundering process


Next to lay out the quilt top over the sheet, the sitting room floor is the only space I have that is big enough, but even then it was pretty tricky trying to avoid standing on anything fragile (I must be a conservator's nightmare!!)


Once this was done I attached the assembled quilt to a home-made quilting frame (home-made by JTH). Most of the top is wound around the rollers running along the long sides, leaving a nice flat working space which can be rolled up and down as a section is completed. The assembled frame took up an entire bedroom (thank goodness our children have left home!)


I cut tiny pieces of (near enough) matching lawn and inserted them behind the holes then stitched them down with tiny stitches, through all layers.


In some places I could sew down the rips without patching from behind.  The very edge of the quilt was in such a poor condition, with long rips and some rust marks that I reluctantly decided I needed to cut it off, making the quilt about 4 inches smaller all round.


I don't know a lot about the quilt, I can only trace its existence back 100 years to the 1920s with any certainty, but  then the quilt gave up a secret.  Some of the papers used in the original construction (EPP consists of wrapping small pieces of fabric around paper shapes) had been left behind. I carefully removed them with tweezers.


A mystery. I could see Latin, Greek, Phonetics as well as English - what had been used for the templates? A clever friend did some research and in all probability the papers are from an ancient thesaurus called the Gradus Ad Parnassum, a reference book that would have been part of many household's library (along with a bible, a dictionary and some medical hand book).  It still does not give me a good reference date as the book was in publication from the 18th century for about 200 years, and maybe it would not have been cut up until it was no longer considered to be of any use.  This brings me back to the 1920s

The initial repair work took over a year. Then it was back to the sitting room floor to lay out another sheet, sandwiching unbleached heirloom cotton quilt batting (from Lady Sew and Sew) between it and the repaired quilt top.  Having decided that I would, as far as possible, hand stitch everything and use only natural materials I also decided I would finish the quilt with quite light stitching, using specialist quilting thread in a dark cream for the centre and dark red for the border.


I added my own pieces too (on the back of course) .  A Passacaglia medallion using the left over Tana Lawn


A panel giving some brief details of the quilt's story


A pocket for a little book with more details of the repair and reconstruction


And a little bag with the scraps of that Thesaurus

Finally a bright red border


And so, it's done, I wonder if it will fall to another mother to make repairs to it in another 100 years?

xx

c


Tuesday, 16 July 2019

Just painting, no distractions (Dorset Painting Retreat)


A little while ago I had lunch with a friend I hadn't seen for many years.  So lots of catching up to do ,you would think, but before we even said hello she said

'When did you learn to paint?? You didn't do anything like it at school'


She was absolutely right. Although I always liked making stuff  I was hopeless in art classes and dropped them as soon as I could.  Then a few years ago I found myself looking across the bluest sea  to misty mountains, or up at an amazing sky and wanted to capture what I saw. My photography did not cut it, not the atmosphere or the colours.


So, I bought watercolours, brushes and paper and tried to create that mood and those colours. I had mixed results, watercolour is fickle sometimes my efforts went straight into the bin, sometimes the water and pigment worked its magic on the paper and (if I didn't fiddle too much) something beautiful emerged.


My cousin Sharon Verry - years ahead of me and my friend Vandy Massey, several years ahead helped. But what helped most were two things - a bunch of very good day courses and practice.

Lots and lots of practice

Then in November last year Vandy and I began to talk about how nice it would be to clear our diaries for a few days and do little else but paint.  The more we talked the more we felt we could and also offer the opportunity for others to join us.  And so the Dorset Painting Retreat was born.

Although we will not have a tutor this time Vandy will lead a workshop on creating special effects with different materials, repeating the workshop she gave in the spring at the Exhibition of the  Society of East Anglian Watercolourists where she is currently chair 


Bookings have already begun and there are just three places left (although if two friends are happy to share there could be up to six). The retreat is over four days (three nights B&B with lunch included at the Philbeach B&B in Weymouth). The booking form is here, where you will also find links to obtain further information.

xx

c


Friday, 11 January 2019

A little tutorial

BUTTONHOLES! Ready-to-wear coats and jackets usually have stitched, not bound, button holes. While I love the neat finish you get with a fine button hole twist, when making my own coats and jackets more often than not I prefer to make bound ones.

My beautiful button comes from Textile Garden, my favourite on-line button shop


Now, there are a few ways of making a bound button hole and the method I always use now, and am going to describe here is not the way I first learned (in O'level Needlework 1969!!!) I believe the way I make them now is almost perfect. The photograph here is about 2x actual size, but I don't think anyone would actually notice the very slight incline and fractional difference in width that you may detect here in real life.

Here is how I do it. Working on the right side, keeping the facing out of the way, but including any interfacing you use,  lay your front pattern piece (or button hole placement tool*) over your garment, lining it up with the front facing seam. Using an erasable marker (I use tailors chalk but always test on spare fabric first) make dots where the centres of the buttons will be. One at a time centre the buttons over the dots and draw a set of vertical parallel lines either side of the button and one horizontal line through the middle of the button. 


Next cut a bias strip of fabric (garment fabric or contrast) 8x the width of your finished button hole edges (6cm will give you a .75 of a cm edge) Fold the long edges to the middle and press firmly (I use a lot of steam)

Cut the strip into sections 2x the diameter of the button.

Thus for a 4 cm button each little folded bias section will measure 8cm x 3cm. 


Place the bias piece over your chalk marks, as shown, centering the folded edge over the parallel lines and the part where the raw edges meet along the horizontal line. Remember you are still working on the right side


Beginning part way along one of the long sides, stitch a rectangle. The long edges should be exactly midway between the folds and the cut edges in the middle and reach the parallel chalk lines at each end. 

Stitch again just inside the first rectangle.


It will look like this (contrasting thread used to make it easy to see!)


Cut open the button hole using the centre cut edges of the facing, stopping just before the end and cutting into the corners.  You will make a    >--------<   shape


Push the bias facing through to the wrong side and pull firmly wiggling it until you get the folded edges to meet and the free ends to lie flat (in a sort of tiny box pleat). Tack the folded edges together and the ends down flat


Press flat with steam if necessary from the back and then the front (be careful with steam on the front that you don't flatten the fabric too much). Make sure you tack the flapping ends of the facing down firmly, this helps keep the facing in a nice straight alignment.


Now bring the front facing back into place and tack a wide rectangle around the button hole.  

Hang up your garment and check that you have the alignment correct and there are no pulls or folds, you are about to cut holes in your facing!

Next cut a slit to match the outer button hole. Using a firm grip with your finger and thumb roll the raw edge of the slit in the fabric under and hem stitch in place. You won't actually be able to roll the ends of the slit, place your stitches here very close together to make sure it is not going to pull out. If your fabric is likely to fray you can machine stitch a small rectangle of some fabric like organza over the slit and turn it to the inside before hemming the facing down.


Finally remove all visible tacking stitches


xx

c


 * this piece of vintage haberdashery equipment is for ensuring each button hole is placed equidistant from the next. Establish how many buttonholes you want, where the first and last will be and stretch out the gig, mark through the slits with a removable marker. And there you have it!


Thursday, 29 November 2018

Time for a new winter coat

Its getting colder...


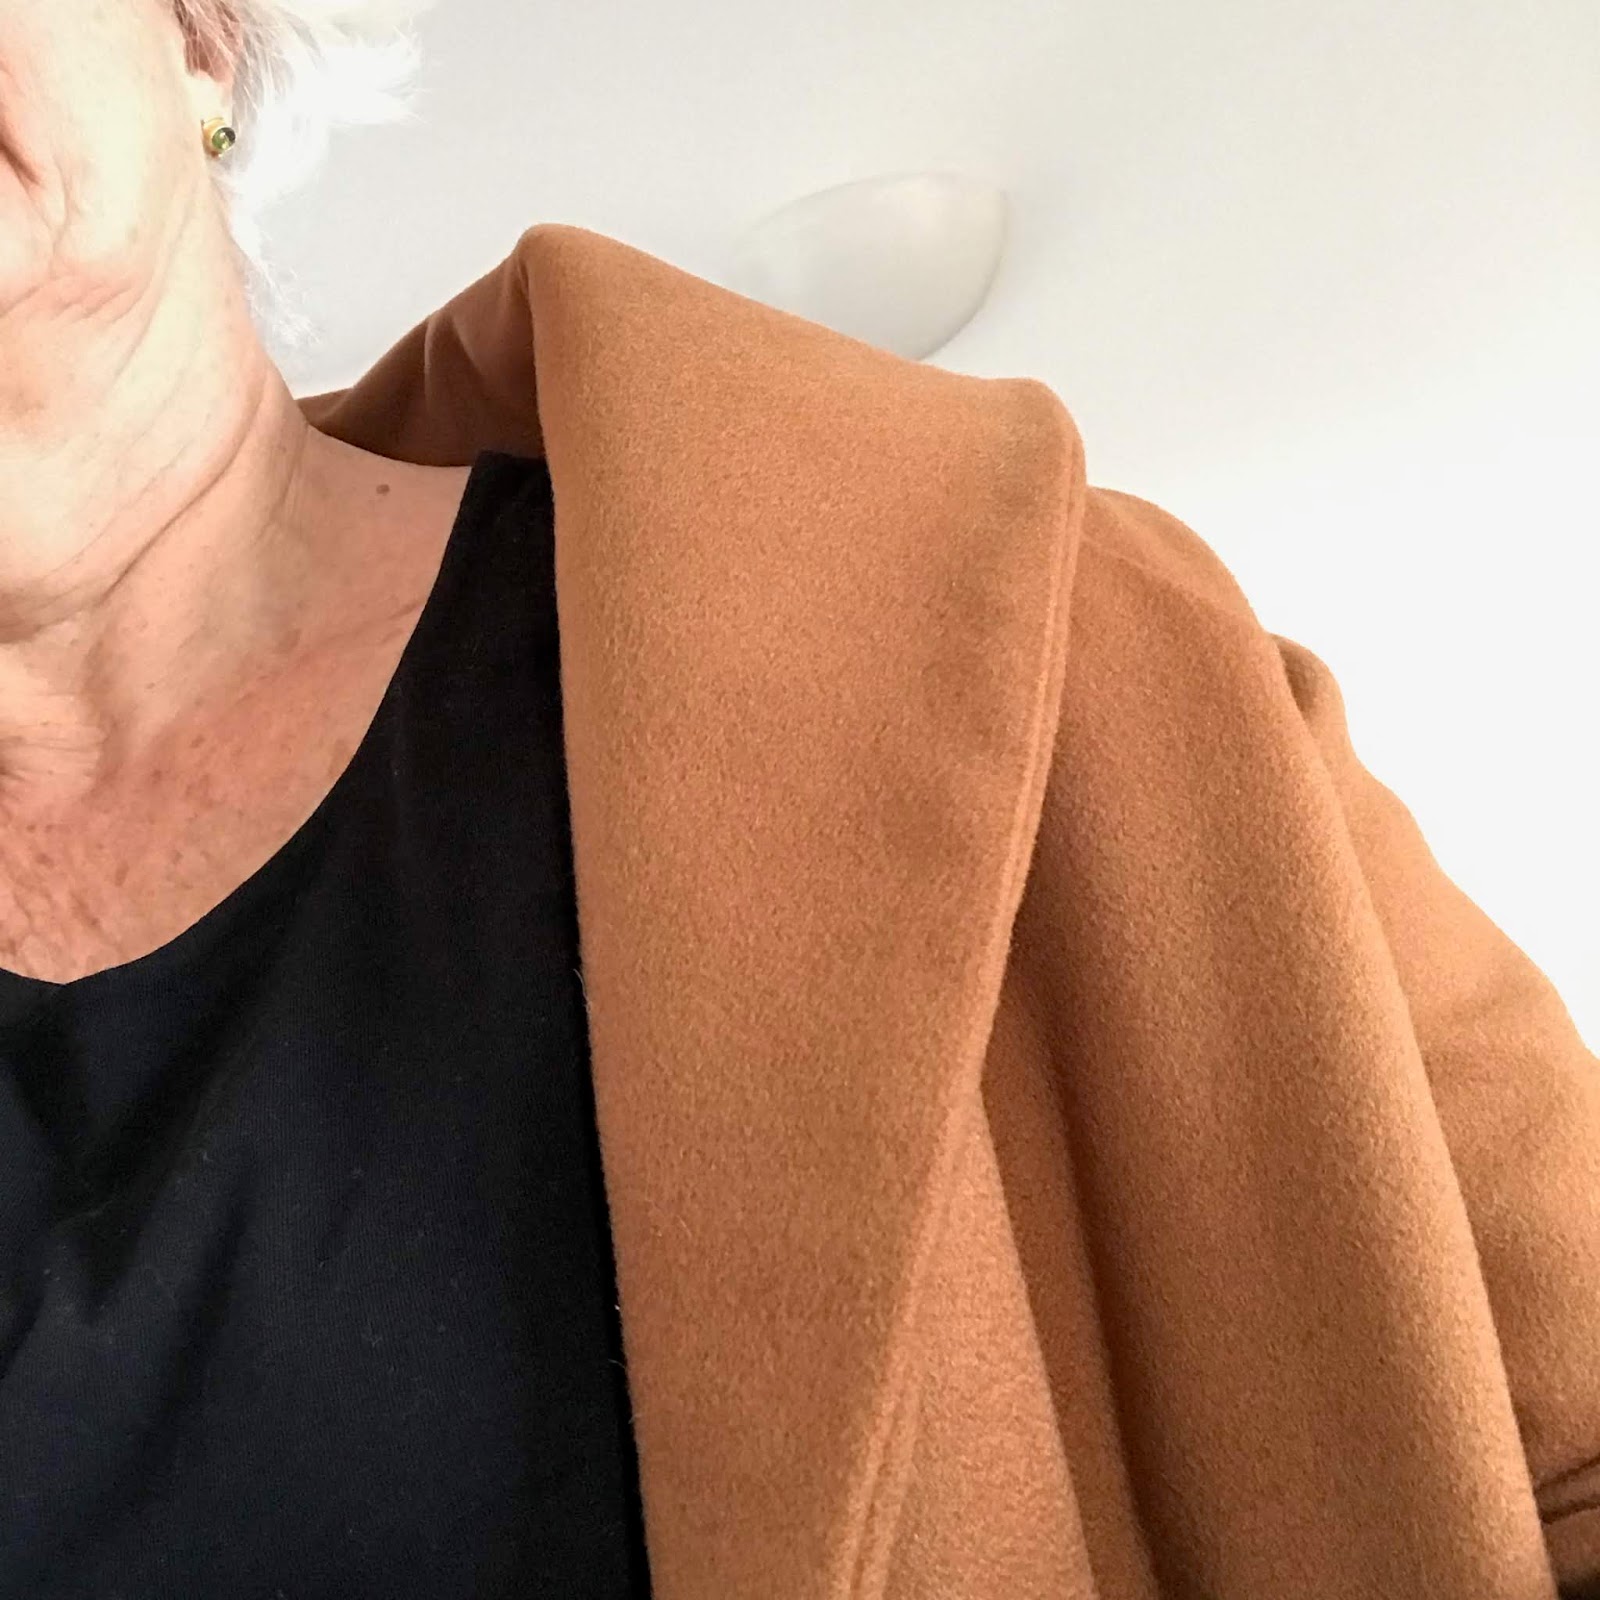
So time for a new winter coat.  Last time I made a coat it was all about a fairly conservative fabric given some special interest with fancy buttons and velvet appliqué  But this time its going to be all about the fabric, something Very Special from a new discovery fabric warehouse, it's 100% Cashmere - how could I resist?

Blue/grey fabric at the top is for a dress (more about this another day), Spice coloured below for the coat - both cashmere

When I say a new discovery I only mean new to me - Crescent Trading is in fact one of the oldest businesses in Spitalfields that is still being run by its founders.  The stock is amazing and I shall just have to leave it to readers to visit for themselves to appreciate the suitings, silks and shirting, not to mention the cashmere.  


The coat design is simple, a slightly tulip shape, with raglan sleeves, and one button.  But the lining is something else. The jacquard silk with a multi coloured stripe is in fact a sarong bought in a harbour-side shop on a greek island on my holiday this year. 

The hope of summers without coats, cut into a coat for winter ahead (words stolen from my friend the writer Elizabeth Speller)


It's the Oslo Coat from Tessuti Fabrics.  The pattern is well drafted, the coat fits well and is true to size.  But (and of course this is not a criticism of the pattern) I will never buy a print at home pattern for a full size garment again! I think in the end it felt as though I had cut out the coat four times before I was done, not to mention the paper and ink for my printer!  The instructions were also a bit wordy and over lengthy for me but an inexperienced sewist may find this more a help than a hindrance.

The simple shape went together in just two days, plus a couple of evenings hand sewing


The button came from Textile Garden, my favourite on line button store (They visit yarn and sewing fairs around the country too)


Always beautifully packaged

I was not entirely sure which of the colours would be best so I bought one of each in silver and bronze


I chose Bronze


I always agonise a bit between hand sewn, machined, or bound button holes.  I think there are pros and cons with both hand sewn and bound for coats and practically always make machine sewn ones in lighter fabrics.  You could say that, as tailors always sew the buttonholes, that they look more professional, but if skilfully worked either can look smart. (IMHO)  I'm happy with my choice (and at the request of a friend I will post a tutorial on how I work my bound button holes very soon)


With some very careful piecing the sarong yielded just enough fabric to make the entire lining from it (I had thought I would have to raid my stash for some toning fabric to complete the sleeves).


The simple plain lines of the coat hiding the totally bonkers lining makes me smile.


Temperatures are falling and the coat is finished just in time

xx

c


Wednesday, 11 April 2018

Shirts


In the same week that a friend's mother was destashing and I scored two lengths of shirting (one poly-cotton and one wool cotton) I saw a progression of photographs on Instagram from a sewist, describing the making of a man's shirt.  
Poly-cotton (l) and Wool/cotton (r)
I could do that, couldn't I? How hard would it be? JTH agreed,  nothing to loose and he would gain a couple of shirts if I was successful!

The instagrammer (Sew-it WithDi)  recommended Vogue V8759

It's quite an old patten, practically vintage

When I read other people's comments on their sewing projects (and if you are interested in joining a group and benefitting from the hive mind I can thoroughly recommend The Self Sewn Wardrobe by Mallory Donohue a great facebook group*) I see that many people begin with a muslin. I have to confess  that in all my years of sewing, and I began aged about 8 sewing doll's clothes on my mother's ancient treadle machine, I have only made a muslin once, for my wedding dress in 1977. I don't even tell myself that I will treat my first attempt at a pattern as my 'wearable muslin', I rarely make up a pattern more than once (with one exception, maybe I'll blog about that one some time) I just plunge in - with some variable results, I have to admit.

So, why break the habit? - no muslin this time, either. No matter that I have never made a shirt before. But honestly it is the tiny techniques that I expected to find tricky - ways of sewing that are peculiar to men's shirts and that transform a shirt from home-made to hand-made. 

But I did measure the pattern pieces carefully against a ready to wear (RTW) shirt that I knew fitted JTH to his satisfaction.

I know I have to cut twice but it is easier to plan the lay-out

And here's another confession - I am not a member of 'Team Trace' either,  once I have decided on a size I cut the pattern out. Generally this is no problem as I am only going to make up the pattern once, am I not?

JTH does not have a lot of patience for trying on, so after checking length and chest measurements against the RTW shirt (collar size did not matter, the shirts will not be worn with ties) I just forged ahead. I did not show him the shirt until it was finished and pressed either. You see I have this idea that JTH has a fear of hand made stuff (or I think he does) that it will look daggy and he will have to wear it just so as not to offend me. I don't think he has ever said this, but I always feel that trying on a half made thing will increase this fear. 

I did, however,  subject him to a running commentary each time I emerged from my studio for meals or sleep.  Just because I loved every bit of the construction.  The pattern instructions, that I followed to the letter, instead of my usual practice of just a quick scan of the pictures, were brilliant.

This is the wool-cotton fabric, you can see how springy it is but it pressed out well

When placing the collar band I found lots of pins placed at right angles to the seam the best way to keep the layers in place. 

I wonder how others like to place their pins? Do you pin parallel to the seam or at right angles? And does anyone dare just sew over the right angled pins? I do at times but have had so many broken needles that I tend to only do this on easy long seams with only two fabric layers, on a seam like this I always remove them as I go. This is why I prefer these glass head pins from Merchant & Mills (never the cheaper plastic headed ones that I have learned to my cost melt under my iron)

button holes next and a tiny pocket detail

Almost finished and ready for machine made button-holes. I love  the wonderful button-hole foot that came with my first electronic sewing machine about 25 years ago. Do you know the one? It has a little jig what you insert your chosen button into; after which all you have to do is set the dial to your chosen button hole-shape, place the first stitch, on the carefully measured and marked dot (the only skill required) and hit the gas.

thread to match the buttons, not the shirts

All machining done I sit down with a pile of buttons, needle, thread, thimble (always a thimble), and a cat (nearly always a cat) to sew on the buttons and snip or tie in all cotton ends.

after pressing

The shirts were all made from stash - not a penny spent except on the pattern. I always have cream and white sewing thread (an all purposed poly cotton thread by Gutermann is the one I prefer, I buy it in the largest reel I can get) and have a very large hoard of buttons.

larger pockets to accommodate a modern smart-phone

I have already said that I found the pattern perfect for a novice shirtmaker like me - or even an expert, except an expert may not need to have recourse to the pattern instructions as often as I did. But if I make more shirts and as I enjoyed the process I may break my usual habit and do so, I will modify the back a little. The pattern is quite old, from a time when men's shirts were very fitted. it has a traditional back yoke but the lower back is in three pieces, with run-and-fell seams, and fits closely to the body.  JTH is slim (annoyingly so, probably lighter than me despite being a couple of inches taller) and the shirts fitted well but another time I will make some modifications.

I will cut the back in one piece allowing for a box pleat and little loop at the centre back. I might also mess around with the collar shape but as JTH only wears a tie for weddings and funerals (and then never with a checked shirt!) he is not particular about collars.  But I am wondering whether I can achieve a small enough button hole on my machine to make button down collars.

maybe I'll play with the collar next time

One change I did make and that was to make a deeper pocket to accommodate a modern smart phone - JTH has had many phone disasters over time - the inevitable phone down the loo scenario, but the funniest was when it fell into a large bucket of wallpaper paste.

I would love to hear in the comments of anyone else's experience with shirt making. And if anyone is thinking of taking the plunge do have a look at Mallory's face book group. Each month she takes a new project with lovely VOLGs about the techniques involved and this month she is talking about button downs!

xx

c