
I have been admiring and pondering the Kelly Anorak pattern for a while. Admiring the photographs of people's projects on Instagram and pondering fabric choices. What finally kick started my own project was reading Lauren's blog post here. Its one of a series of posts where she charts her progress with the jacket, using products from her lovely shop Guthrie & Ghani. I also had some special fabric I wanted to use, not typical of the sort of material you might think suitable for a parka jacket but I felt it might just work

The fabric was initially destined to be a sports jacket of the most traditional style for my father, a man of most conservative tastes and fastidious dressing (he wore his third best sports jacket and matching tie to do the gardening), he had always had his suits and jackets made to measure. He would buy suitable fabric on his Scottish holidays and on his return visit his tailor, Mr Tandy in the small market town near where he lived.
Surely a dying breed of craftsmen I imagined Mr Tandy sitting cross legged on his work bench much in the style of the Tailor of Gloucester (the eponymous character in one of my favourite children's books buy Beatrix Potter). Well of course eventually the inevitable happened and Mr Tandy retired leaving Dad with his latest fabric purchase on his hands. As you may know if you have been reading this blog for a while my father died a few years ago and while I was clearing out his house I came upon the material for what was to have been his last sports jacket.
At the time I have no idea what the fabric should become, I just entered it into my (not inconsiderable) stash, and then the Kelly pattern came across my radar .

You can see the wool tweed nestling between the two red lining fabrics, Ponte di Roma jersey (a remnant from the Raystitch sale) and some acetate satin. I also bought a hole punch (not illustrated) and a stud applicator. I read the recommendation for a stud applicator from Lauren's blog and I'm very glad I bought both this and the hole punch before attempting to place the snap fasteners and the eyelets for the waist elastic. I have previously used the little tools that come with the studs - do you know the ones I mean? They require a lot of dexterity, as you grip the studs between the little plastic gizmo you hammer it down on your kitchen chopping board to fix it into place. OK for fine fabrics but I have had so many misplaced studs on thicker stuff. This time all the studs went in exactly where I wanted them to be.

I can't honestly say that the linings were one of my original modifications as Closet Case Patterns has produced a pdf down-load pattern as an addendum to the original pattern. But I did draft my own using the outer pattern pieces and trimming off some of the seam allowances, the jersey for the body and satin the sleeves.

The fur trim around the hood was my own mod. I had to check out a few ready-mades on-line to get the placement of the fur correct. I don't think the hood up look is great on me but it will be perfect in bad weather.
Incidentally the pure wool. smooth weave of this fabric is as shower proof as any modern high tech fabric (as light too) and it is nearly 100% wind proof.
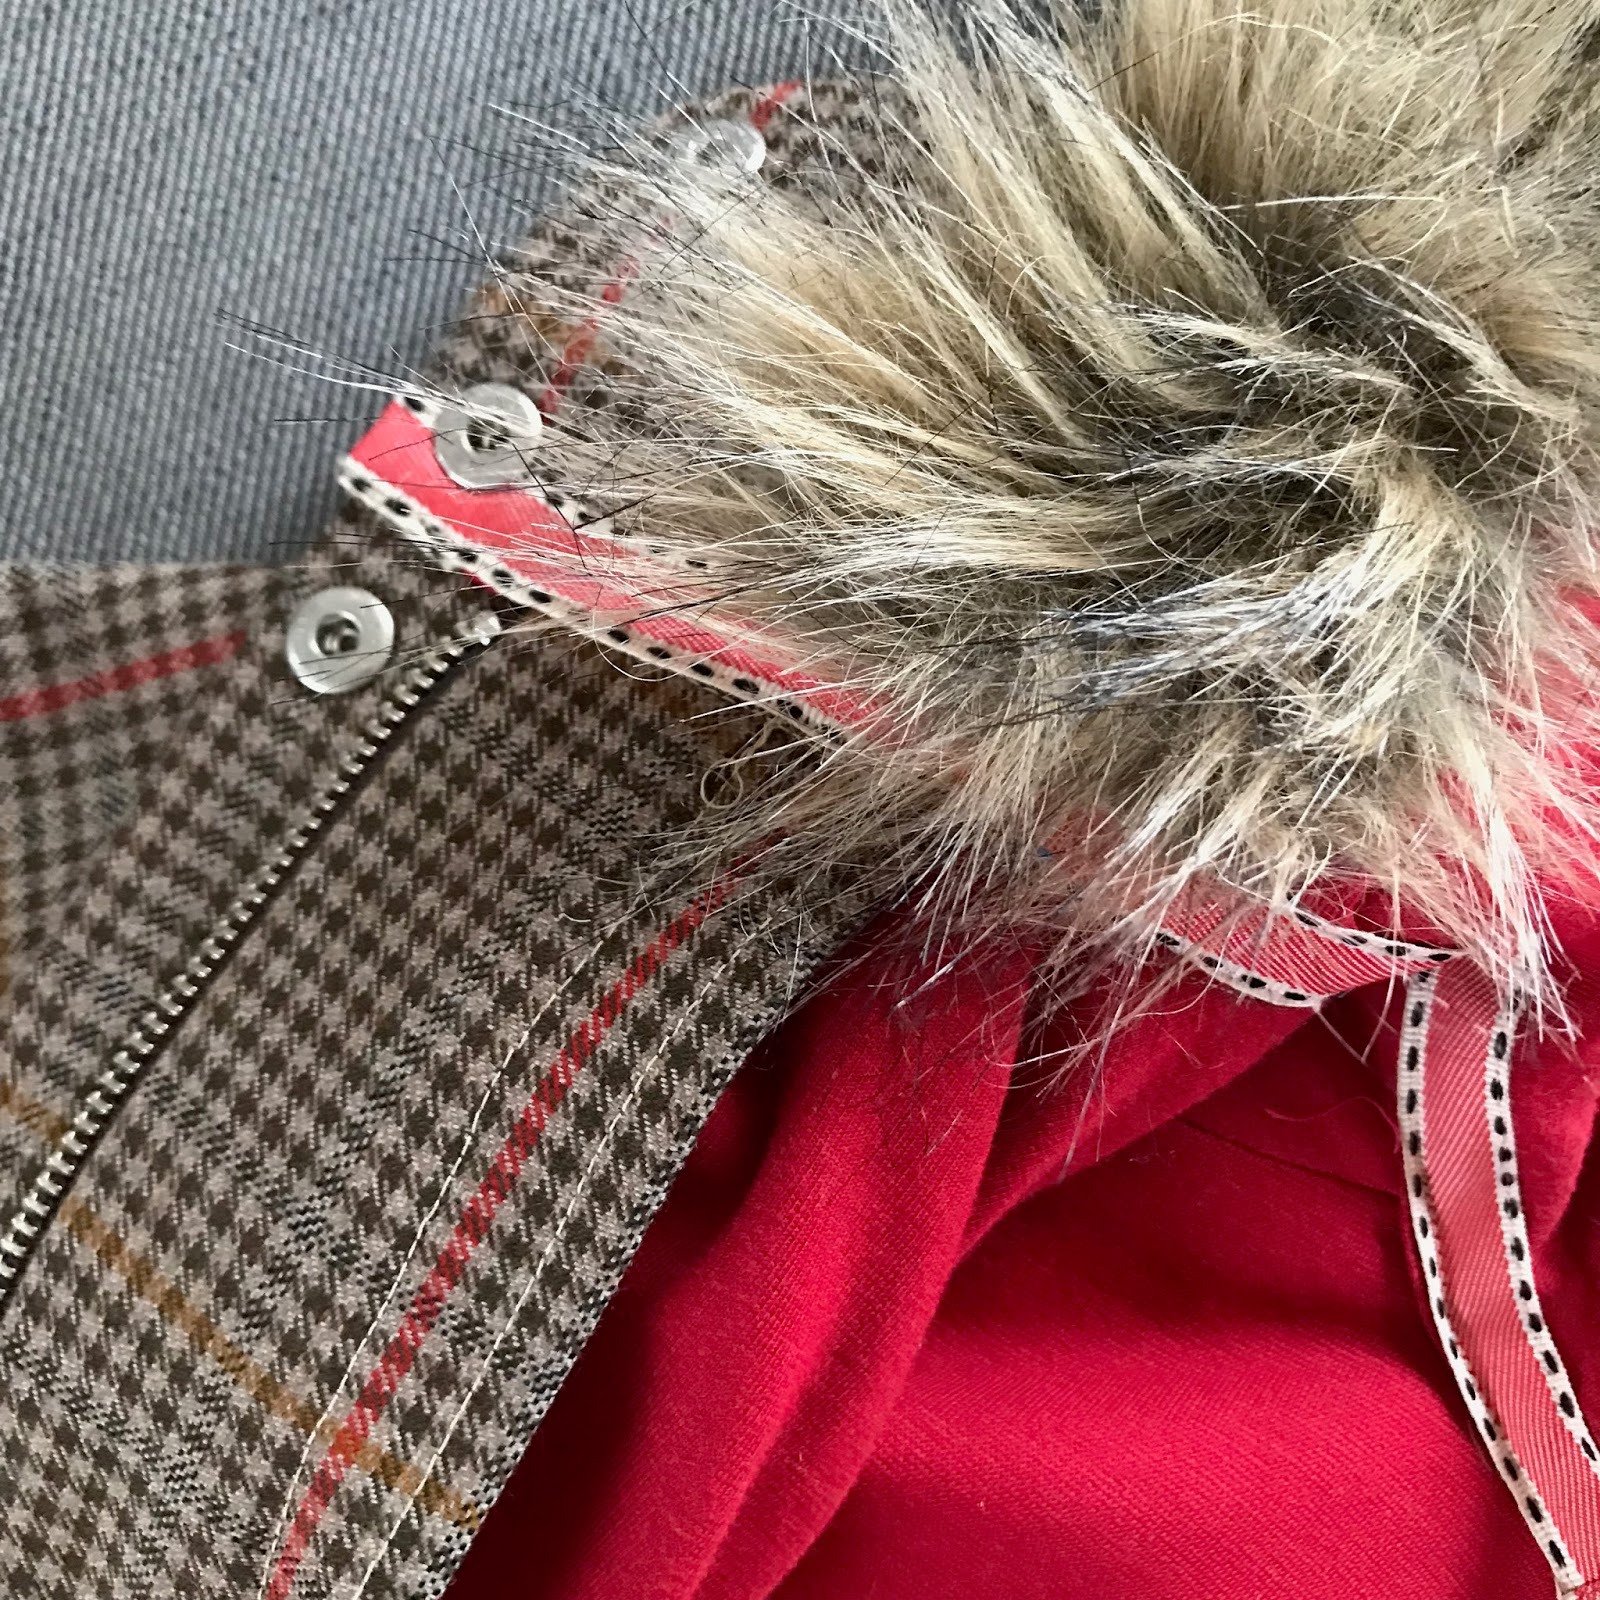
The ribbon I used to cover the neck seam is also used to create a hanging loop (I know - the correct way to hang your hand mades is by a proper coat hanger but some times you just need to hang your jacket on a hook. )

I had this bright idea that I would knit some cosy cuffs ( I love combining crafts in a project) but in the end I could not work out how to fix them as the jacket sleeve has slits and fastenings - another time I might make the sleeves differently as I don't think they need to open at the cuff

The pattern is quite technical, I learned a few new tricks as I sewed. I had never before inserted a zip using this method with flaps, nor even heard of the system of sewing the yoke called burrito. In fact as a pretty experienced sewist I usually just scan the drawings in the pattern instructions and forge ahead, but his time I read each stage carefully TWICE. Sometimes I had no idea where the instructions were taking me, I just obeyed and sewed 'this' to 'that', folded something in and essentially DID WHAT I WAS TOLD. And it worked!
I can't tell you how pleased I am with my parka - I think I have worn it every day since I made it. I would love to hear in the comments from anyone who has made a Kelly of their own, How did you find the pattern? The fit? (mine is just right, thank you) and do you love wearing it?
xx
c
 |
| never without a little cat involvement |
2 comments:
Your Kelly Anorak turned out great, and what a wonderful story to go with the fabric you used. I've had the fabric to make one sitting in my stash for a year but have been too afraid to attempt it. Closet Case has just come out with a tutorial for making it, so now I might be able to build up the courage. Well done you!
I’ve seen this pattern on a couple of blogs and videos, but do particularly love yours. The tale of the fabric touches me (my Dad also died a couple of years ago, though what I have from him is a check soft cotton shirt and some very painty overalls) x but also I love tweed! Makes me wonder about using some dashing tweed fabric with the reflective thread to wear on a bike....
Post a Comment