Pages

Showing posts with label VPLL 1912. Show all posts

Tuesday, 31 July 2012

Wearable vintage

I began making this sweater just for fun, a challenge to myself to see if I could knit something from a photograph.  This photograph


Oh no! not this one... this one is mine - three months of thinking, planning, writing notes and crossing out
and I got there -

from here...


via here...


I have simplified it, by knitting the main body sideways from cuff to cuff via the front and back I could knit the colour work panels fair-isle fashion and not as intarsia, much quicker.

The finished piece was HUGE and took over half the dining-room floor when I blocked it. Sewing up took ages too.  Does anyone else use safety pins for this?  It made it much easier to keep the lines matched up


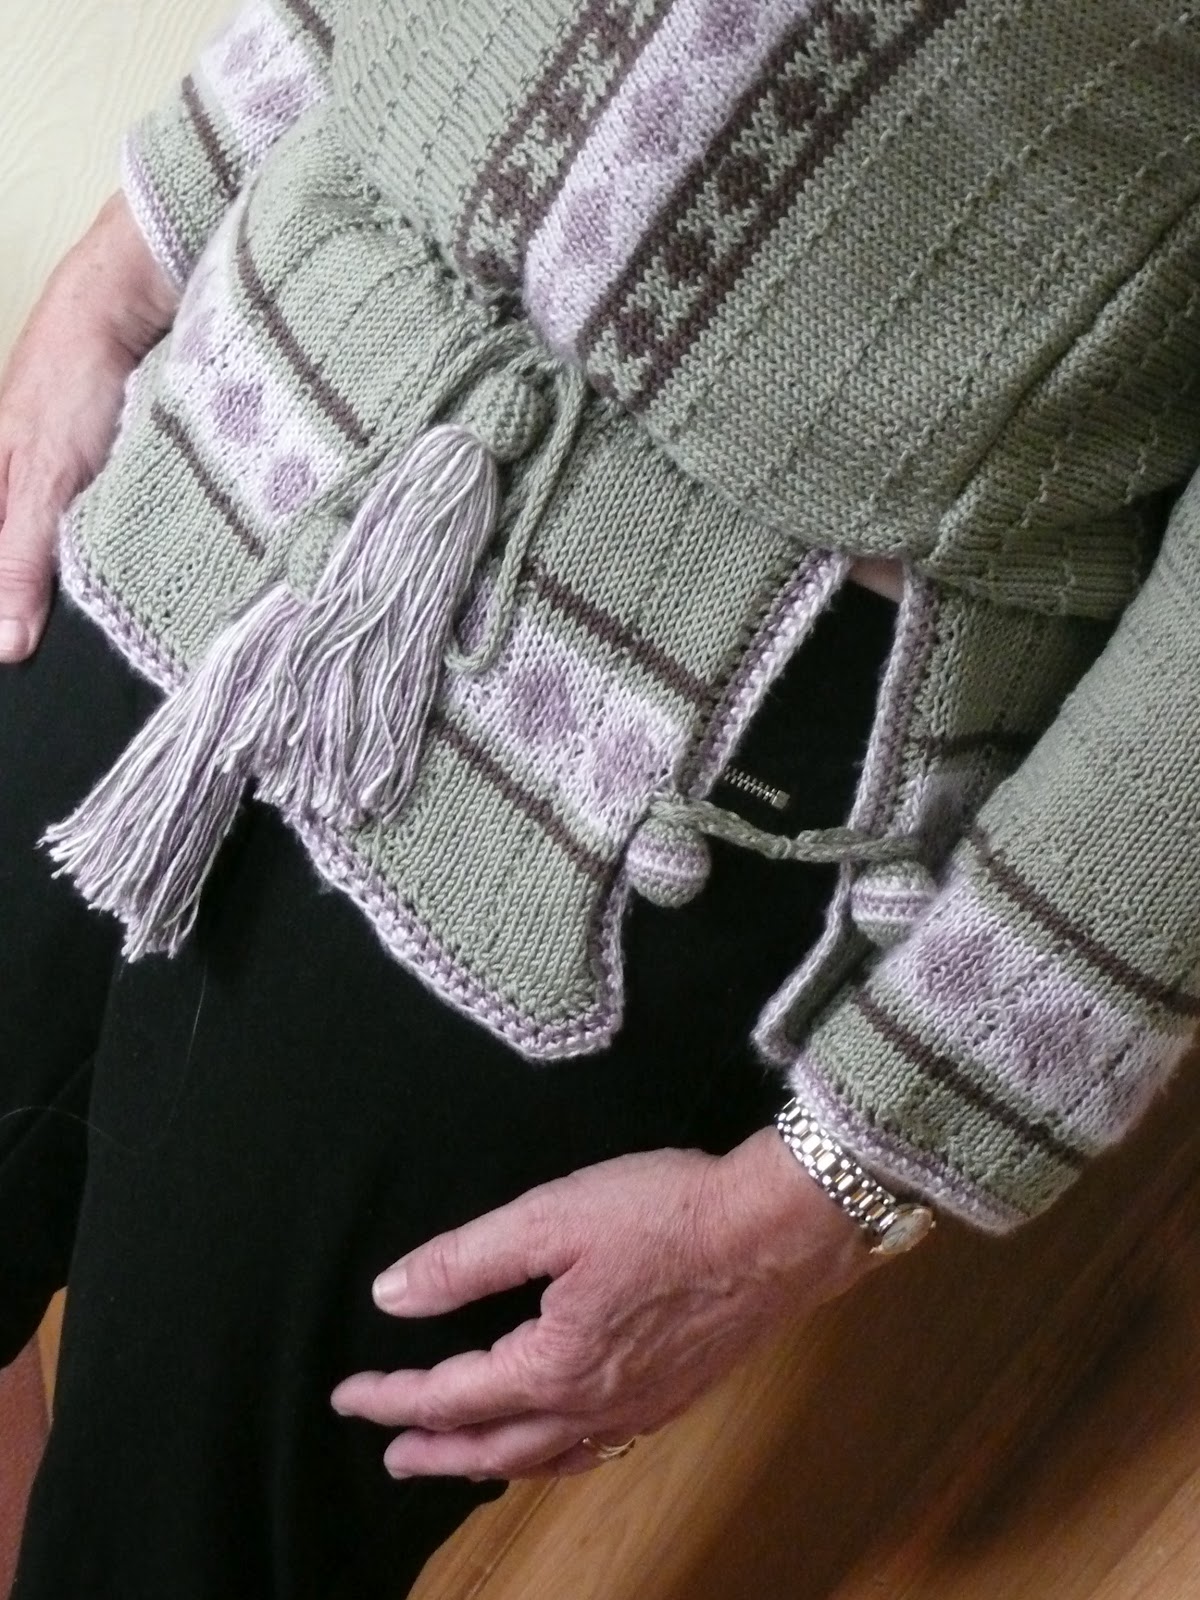
All the little crochet detail were interesting too.  The fillets at the shoulders allowed for some fullness rather in the same way as one gets from a shirt with a yoke


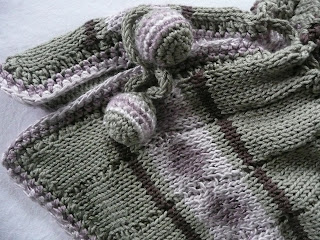
And I loved the bobble buttons


and the tassells


Loved making them too


When I joined the Titanic sewing project the choice of patterns was wonderful but when I looked around there are far less things to knit.  Hats gloves and mufflers a-plenty, baby things too but not actual items of women's clothing.  Perhaps knitting was mainly confined to shawls and working men's sweaters.  So I was thrilled to find this which is spot on for the period.  Spot on for the style too.  I realise that many of the women in steerage would have kept themselves warm with a shawl but the patterns we are making up are more of the style of the 2nd class passengers and although this tunic is probably designed by Poiret, someone who would have dressed the first class passengers, I see no reason why a 2nd class passenger who was able to knit could not also copy.

My mannequin, still decked out in 1912 blouse, skirt and underpinnings wears the tunic well.


I too shall wear it, with something more modern such as a pair of straight legged jeans


The pattern I devised is available as a Ravelry down load if you would like to make one too.  If you do please let me know - I would love to see other versions

xx

c


Tuesday, 3 July 2012

On having to admit that these clothes maketh this woman into a Grandma

Of all the discoveries I have made while working on the Titanic project I did not expect to be seeking out the Brasso


But more of this later...  The latest Titanic project felt a little like going off piste without a map.  The #0219 blouse which came with pattern and a photograph but no instructions


Now I've made plenty of blouses before, with collars and cuffs and curved yokes, even one from the project how hard could it be?

The pattern size was several inches too small for me so I slashed the pattern and spread it to give me 4 inches extra all round.


This piece is side front and back and one sleeve, cut on the cross (bias).  At this stage I imagined the slashes at the underarms were darts but did wonder why the pattern numbers did not match up...

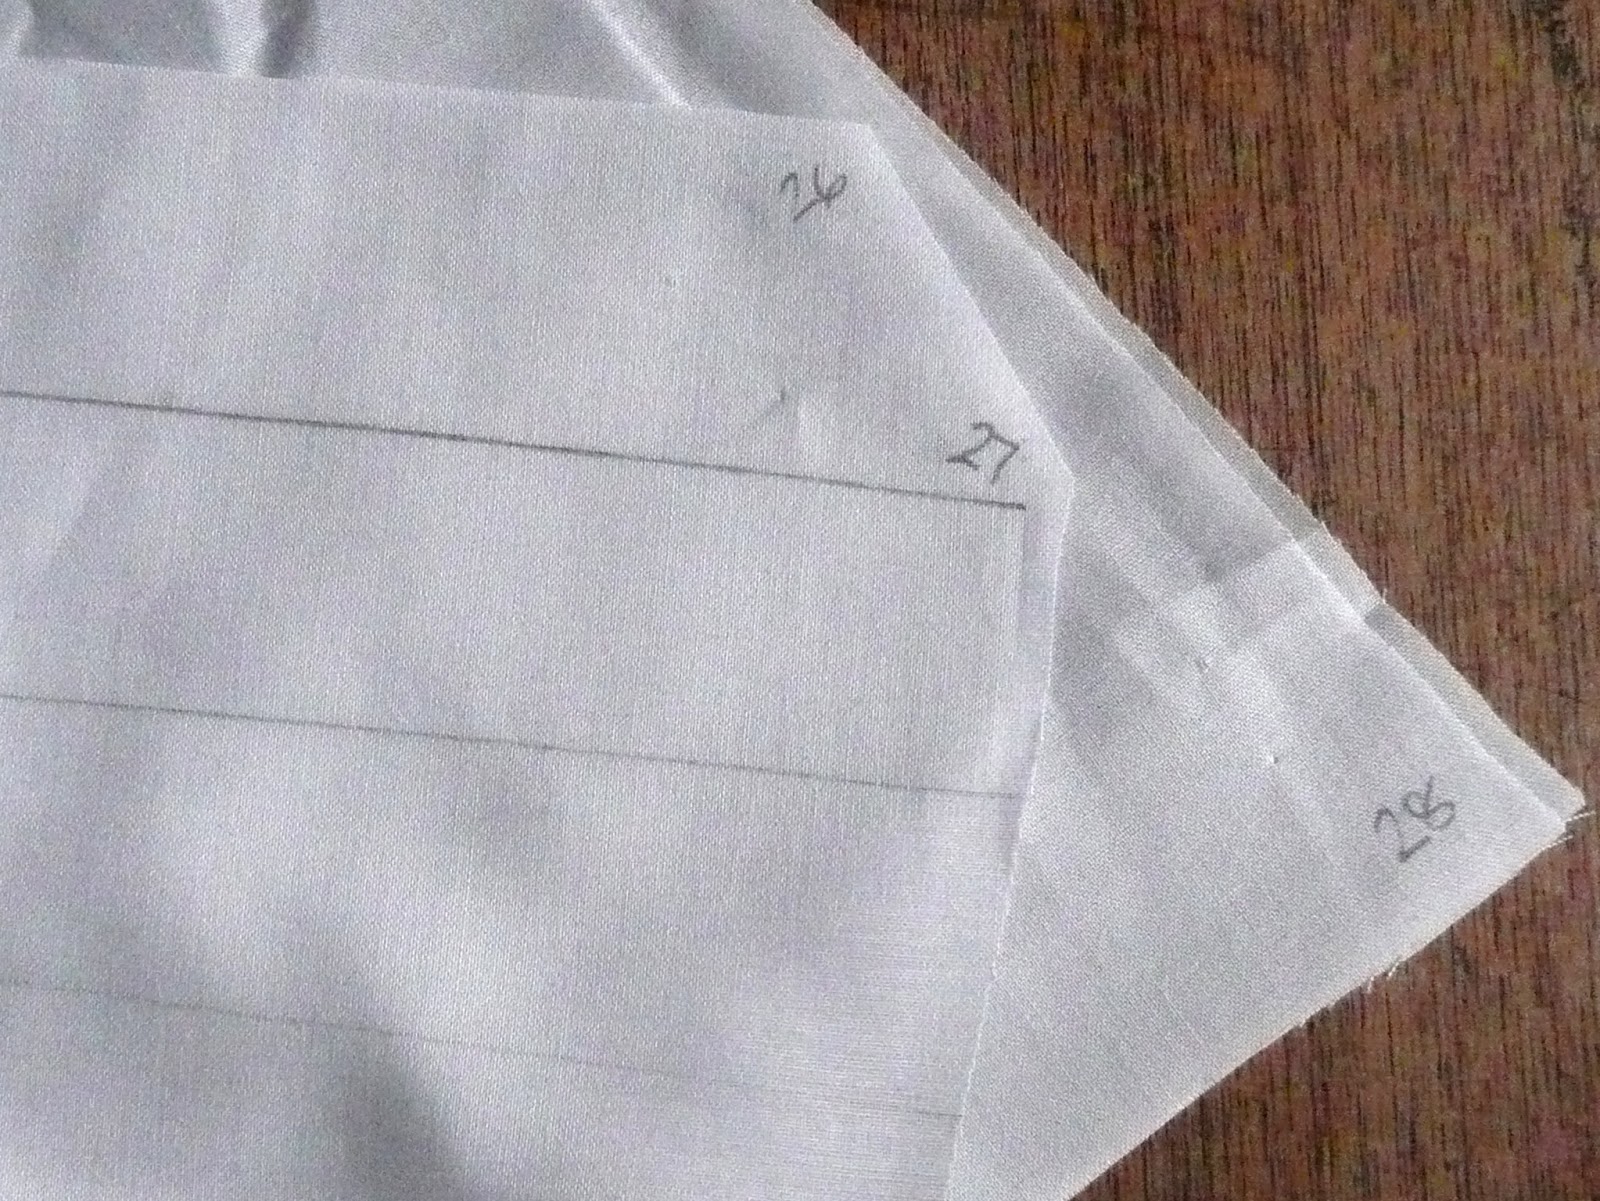
(NB these patterns do not have balance points as we know them in modern patterns but there are numbers at strategic points on each piece and as you sew you match 30 to 30, 31 to 31 and so on)

So I went merrily on my way, interfacing the yoke and centres, collar (cut from white medium weight linen) and cuffs with light weight fusible interfacing


Attaching the piping to the centre front, yoke, and centre back section first using the cording foot of my machine.  Then, with the same foot attaching the yoke after clipping curves and corners


Next comes the underarm  and side seams - EEK! they do not match in length and that slashed part is not a dart.  Saved by the project blogs, people have gone before me.  The seam from hem to cuff does a sort of dog-leg turn at the underarm.

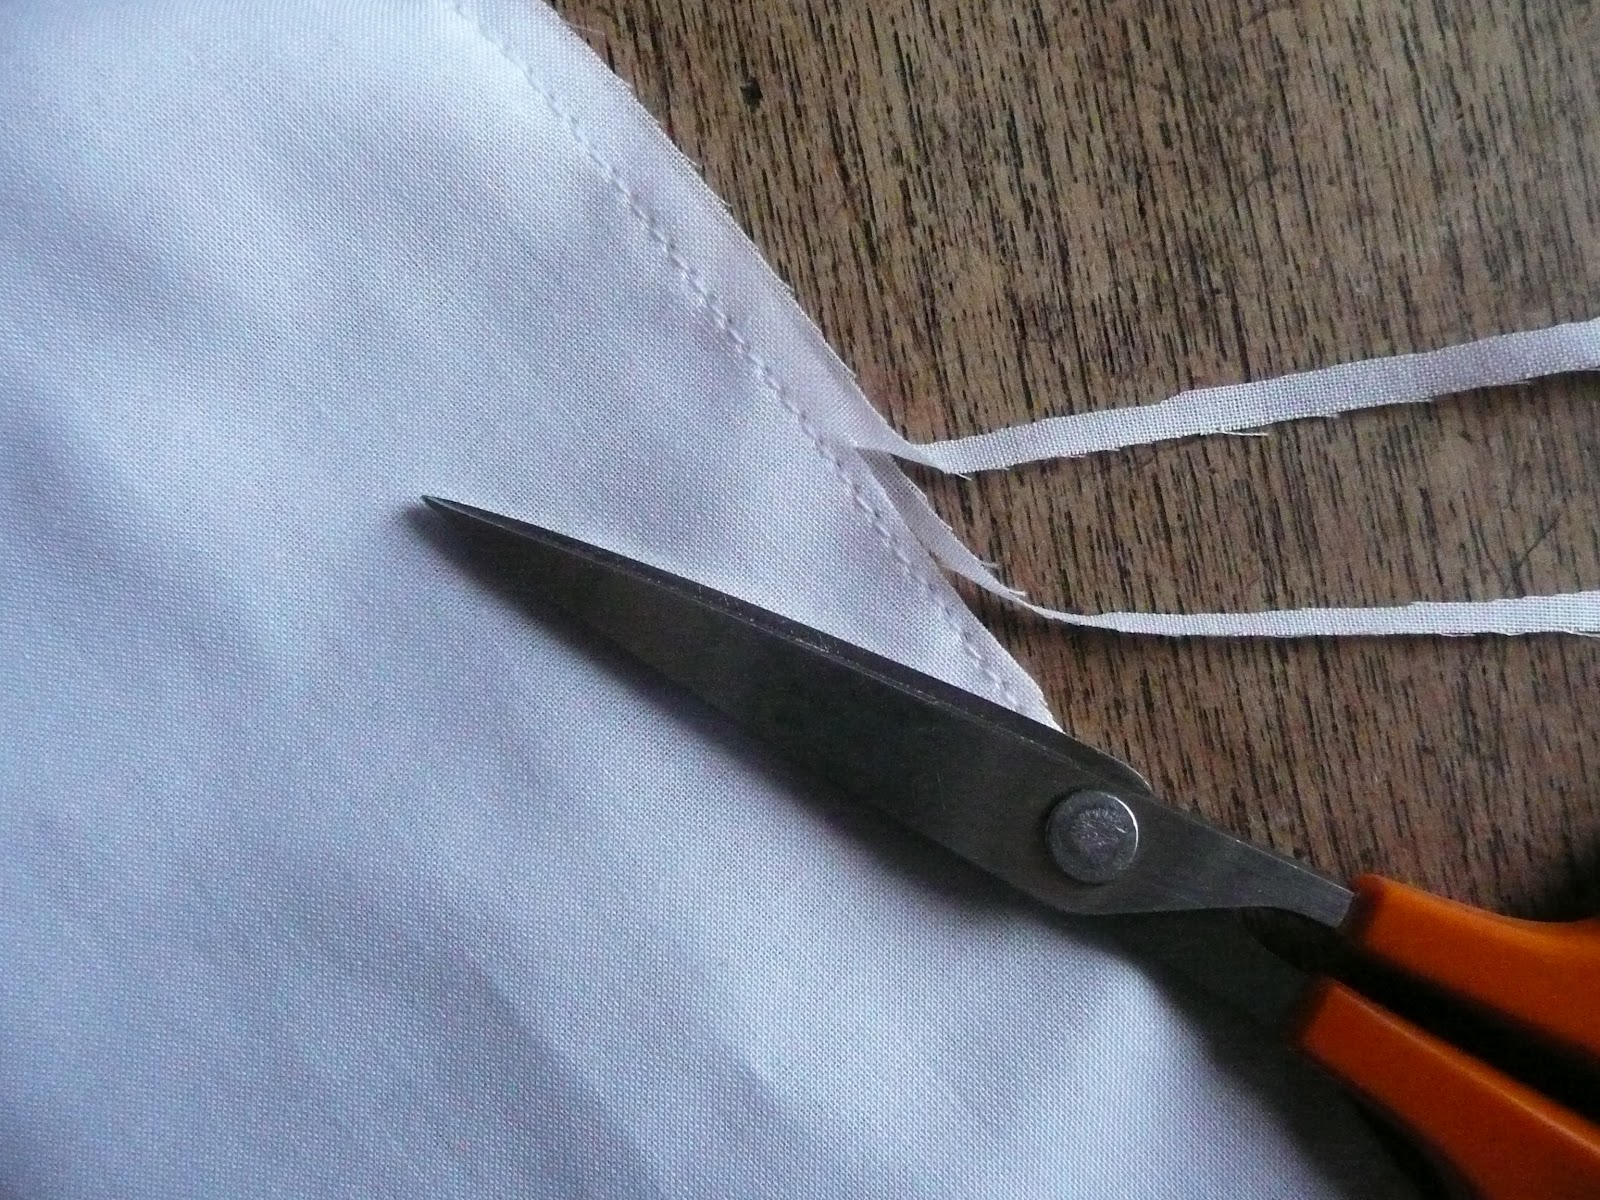
I still found it tricky.  Particularly as my fabric is a very fine floaty 50/50 cotton silk mix and frays very easily.  In the end I machined the sleeve from cuff to the turn and the side seam from hem to turn then stitched the horizontal piece.  At first the seam looked puckered and you can see that it is made of 3 separate lines of stitching.


But after pressing and when on a real arm rather than my dummy it fits quite well


Now buttons and button holes (and Brasso).  A friend from my knitting group had given me some vintage buttons and this blouse seemed the perfect garment for the set of grey Bakelite ones.


Bakelite was developed in 1907 and patented in 1909 and is the first ever plastic.  It was not actually produced commercially till the 1920s and 1930s (certainly in any great quantities) but the buttons are nearly from the right era.  Although there is no Bakelite label anywhere,they are certainly of a plastic like material and have the characteristic bloom that develops on old Bakelite. So armed with the tin of Brasso which according to a website for collectors of Bakelite is The Thing for cleaning it up I got polishing with nice shiny results.


While I'm on the subject of buttons, I fund three white buttons styled like collar studs in my button boxfor fixing the collar to the narrow bias neck band, two at the front and two at the back


I have found that patterns of this age tend not to supply pattern pieces for parts that are simply a rectangle, square or strip, the instructions simply giving measurements.  And here I needed to improvise for neck band, cuffs and binding for the lower edge.  

The neck edge I bound with a bias strip, applied not as a facing but as a stand up binding to give something to button and snap the collar on to.  As well as the button at the back I attached press studs to the front and sides of the band and on the collar.  Securing at these four points seems to keep the collar in place neatly

The cuffs were easy, choose your depth, measure your wrist size, add 1.5inches overlap and seam allowance to all four sides, cut four.  I slashed a 3 inch sleeve opening about 4 inches up from the underarm sleeve on the outer aspect of the sleeve, binding the raw edges with a strip of bias binding cut from the main fabric.   Gathering the lower edge of the sleeve to fit the cuff, less teh overlap I attached the cuff in the usual way

For the lower band I decided to make a wideish band that would sit comfortably on my waist and lie flat under a skirt waist band so I cut a 5 inch wide strip the length of my waist measurement plus 2 inches for overlap and seams.  I gathered the lower edge of the blouse (side front and back sections only) on to one edge of the band making sure the overlap matched that on the blouse itself, folded it in two, machined across the ends, snipped corners turned it right side out and  turned and hemmed the inner long side to the line of machine stitching.


Now for the great try on.  I decided to wear it with my scallop edge skirt and with full underpinnings.  How exhausting is that dressing in chemise, corset and  princess slip before getting to the top layer?  I needed a short rest while still en dishabillé


And here we come to the meaning of my bog title.  I really look like a grandma once properly buttoned up


And since I do, I thought I would add the glasses


Now for the VPLL1912 checklist


VPLL Checklist
  1.  Pattern Name Ladies blouse #0219
  2. Sewer’s Skill Level: Advance, 
  3. Pattern Rating:  4 - I nearly loved it as much as the #0335 blouse.  It is perfectly right for the period but it drops a point for lack of glamour.  I realise everyone has to have a workaday blouse and this one says school marm all over it but I do prefer the chance to use lots of lace and the feel of very wide sleeves.  But in technical terms the pattern certainly deserves a 5 as it went together perfectly.  Given the eccentric way I worked the underarm and side seam if the measurements were not exact it would have been all over the place
  4. What skill level would someone need to sew this pattern and why? I say advanced because of the under arm bit but probably if the blouse is made in some sturdy cotton poplin possibly the tricky seam would be easier to work
  5. Were the instructions easy to follow? No instructions of course but the blogs were very helpful
  6. How was the fit/sizing?  The sizing was accurate and by adding the 4 inches as described above it was a perfect fit for me (I am 2 sizes bigger than the original pattern)
  7. Did you make any pattern alterations? yes, 
    1. I made the pattern bigger as described above 
    2. I made the collar stand from a strip of bias binding.  Another time I think I would have used the white linen I made the collar of and make it slightly wider (say 3/4 inch)
    3. I made the waist band wider than a simple binding, it stayed put better under the skirt.
  8. Other notes
    1. I machined the button holes - big confession I know, there were no machine made button holes in 1912 but I had 15 to make and I needed to save time
    2. I made the bow from a wide bias length of silk crepe de chine sewn into a tube, turned and loosely tied into a bow


xx

C


Monday, 19 March 2012

The third post

Not my third blog post ever but Titanic #3  A ladies skirt from February 4, 1912 (VPLL 0200)  I received the pattern as the largest size pdf and took it to my local print shop as before.

In size 34" waist it looked as though it was going to fit me without alterations (and without contemporary underpinnings being absolutely essential).  When I made the Princess Slip I had to compromise on trimmings and use lace made from synthetic fibre, but for this project I do want to use materials that are as close to the contemporary fabrics and notions as possible.  My local fabric shop was able to provide linen in gooseberry green, cotton binding in french navy and cotton tailor's canvas.   Nothing synthetic in sight (except possibly the sewing thread)


The hooks and eyes and press studs (snaps?) are metal so could have been made in 1912 but I will defer to friends who have a much better knowledge of what-was-used-when to correct me if necessary. I cut the facing for the scallop edge as a straight piece to begin with and cut it to shape, after sewing.


Linen and cotton may crease with wearing (I don't mind a few creases, though some do) but it is also a dream to sew with, as when pressed it is possible to get a near perfect alignment.


I chose to use the contrast binding to trim the top of the waist (which is interlined with the canvas) as well as the scallop edge.


In the picture at the top of the blog you can see that I have 9 vintage style buttons laid out with my kit but I soon realised I had miscounted and needed 13.  I could have redrawn the pattern to create fewer, bigger, scallops but instead decided to use scraps of the cotton binding to make covered buttons.  A button making evening followed...


The finished effect pleases me enormously, although I admit to the edge being more saw-toothed than scalloped!


The front opening is closed with hooks and eyes.  When I tried it on the points gaped a little so I fixed the points of the opening with tiny  press studs  and lower down small tacking stitches. Being used to 5/8 inch seam turnings on modern patterns the 3/8 on these was a bit of a challenge, but it does work, even when neatening seams by turning under the seam allowance and stitching on the edge. The waist facing is blind hemmed along the natural waist line.


Now I do intend to make a corset from Corsets by Jill Salen (purely for the purposes of the clothes hanging correctly, of course!)   But even without tight lacing the skirt fitted quite well.  Authentically in fact, as after half an hour walking about my bedroom trying to get the right shot, I felt mildly breathless from the tight fit around my lower rib cage.


The blouse is modern (Anthropoligie) but I felt it had the right shape, pin tucks at the shoulders and softly draping sleeves.  

Some bloggers have provided details of how long a pattern has taken to make up.  I have again failed to time myself but estimate it took about 5 hours to cut out and machine sew (the pattern pieces fitted together effortlessly without any adjustments) and probably as long again on the hand sewing.  But I didn't rush it and I had fun!


xx

c

VPLL Checklist

  1. Pattern Name Scallop edge skirt  #0200
  2. Sewer’s Skill Level: Advance
  3. Pattern Rating:  I LOVED IT! the fit is really good (so glad some of those women in 1912 had a 34" waist!)   
  4. What skill level would someone need to sew this pattern? beginners with a little help I would say.  You need to do a bit of simple hand stitching and care to get the binding right but all the other shaping is in the seams
  5. Were the instructions easy to follow? Yes.  My only question was which way should the scallops face.  My instinct was that the opening should face the back but the pattern and instructions said otherwise so I followed that and put snaps on the points of the scallops at the opening and tacking stitches further down to avoid any gaping
  6. How was the fit/sizing?  yes exactly
  7. Did you make any pattern alterations? no
  8. Other notes:  The style would be great for contemporary wear too


Wednesday, 22 February 2012

Titanic Project post 2

It's been hard work work, lots of head scratching, many hours of hand sewing, new stronger glasses and a  large tin of spray starch but also immense satisfaction -  I've finished my first challenge on the Titanic project.  It just fits on my mannequin (if I adjust it to the smallest size) 


I have to confess to not paying much attention to instructions generally, when sewing I tend to scan the pictures to get an idea of the order of making up and launch in.  So the fact that the Princess Slip pattern has no instructions, and the only pattern markings for the lace placement and numbers at intervals was fine by me.  The idea is you sew the pieces together in numerical order, 20 to 20 then 21 to 21 and so on. Janyce at the Vintage Pattern Lending Library has provided some instructions and for the rest I just thought very hard about the order before cutting and sewing - think twice and cut once and all that. With only four pattern pieces and a flounce this was not too tricky

My only criticism of the pattern itself is that it is produced with grey not black lines - this makes for very faint lines when printing out in black and white - hence the new stronger glasses!  But in a good light I transferred the numbers and lines for lace placement with one of those magical Pilot Frixion pens which produce a strong black line which instantly vanishes when ironed


I continued to work on the lace insertion in the same way as I described in my last post. If the insertion ran over a seam I worked the seam first.  I decided to work all the seams as very fine French seams


When sewing curved seams generally you need to clip the outside of curves and notch the inside but if the seam is narrow enough (and I'm talking of 3/16ths here) then you can persuade the seam to curve without clipping with a gentle steam iron.  The pattern pieces fitted together well, I decided not to adjust them to fit (me or anyone else) but to make up as drawn) 


I did wrestle with my conscience a bit over the button holes.  My sewing machine, has a special foot for button holes.  It works like a little gig with a slot of the button that ensures the machine automatically makes the right sized button hole.  But would seamstresses, particularly home workers have had anything like that? Having learnt to sew on my mother's treadle, already ancient by the 1950s I know they would not and I did want to make the petticoat in as authentic manner as possible (hence the miles of hand hemming on the insertions).  So I hand sewed all 8 of them.


I departed from the standard of 'stitch then slash' for the insertion over the seam attaching the flounce.  I felt the end result would be too bulky so I machined a narrow turning on the slip and one on the upper edge of the flounce then attached the flounce thus bridging the gap and maintaining the sheer effect that I had in the rest of the garment. 

I did seam the side front seams properly then cut them off when working the back of the insertion.  I wouldn't do that again - it was too fiddly and left me with very little fabric to turn under and hem.  Next time I will stitch a plain seam with as wide a stitch as I can get from my machine and then pull it out after attaching the lace.


In one blog I read that the blogger found the neck gaped between the two side front seams.  I think it does and wonder if it is meant to do so to accommodate the cleavage a woman would have got from the way the corset was worn.  I used the ribbon insertion to pull up the fullness so that the neckline laid flat.

When I finished I had about a meter of the lace insertion left but did feel I could have done with a little more of the eyelet lace ribbon, and lace edging for the neck and armholes.  The broderie anglaise was exactly enough, about .5m more would have been less scary and the same amount more ribbon would have given me enough to have proper ties to adjust the fullness of the neckline.  Of the lace edging, I did not have enough to gather it all around the sleeve edges so kept the fullness to the the shoulder only.

But overall I loved making it, the pricked fingers and the needle threading all worth it - and I'm looking forward to the next project coming soon.

xx

C


VPLL Checklist

1.         Pattern Name Princess Slip #0336
2.        Sewer’s Skill Level: Advance
3.        Pattern Rating: I LOVED IT! So pretty, I had never attached lace insertion this way before but it was quite easy and I found the hand-sewing relaxing (am I the only person who loves hem stitching?)
4.        What skill level would someone need to sew this pattern and why? Intermediate, there are one or two tricky seams which look like awkward shapes but you just have to take charge!, 
5.        Were the instructions easy to follow? yes?
6.        How was the fit/sizing?   fine, it came out just as it said, with drawing up the ribbon at the neck and putting it over a corset, the fit was very good
7.        Did you make any pattern alterations? the slip was a perfect size 36, although a little small for me I wanted to make my first 1912 pattern up as drawn to get the hang of the general way the patterns and instructions are drawn before I began messing about with anything!?
8.        Other notes: I loved the pretty design, and will make one in a size 40 bust for me to wear under my vintage outerwear.  Some people have said it would make a perfect summer dress and I think that's right, although too frilly for me it would be perfect for a younger person