Pages

Monday, 2 April 2012

Poiret style

If you are a regular reader of my blog you might have wondered how long it would be before I made a link between the titanic project and knitting.  Well, trawling through my books on vintage knitting I struck gold, a tunic in the style of one of the most favoured designers of the early 20th century Poiret


It's a perfect shape to go with my scallop edge skirt and something I imagine also becoming a favourite item in my 21st century wardrobe.  Perfect too that it is attributed to Poiret (or at least in the style of) as he was at the height of his powers in 1912, having left the couture house of Worth to establish his own house in 1903.

There's no actual pattern for the tunic in the book but I'm going to try and work it out.  It's knitted in a type of rib (row 1: K row 2: P7 K1 rep to the end) the horizontal coloured panels are knitted as you go, the verticals knitted separately and stitched in place (although I might experiment with intarsia here.  There is a row of double crochet eyelets encircling the waist and providing decorative detail near the shoulder.  The cord has crochet bobble and tassel ends and there are bobble fixings closing the  side vents.  A close look at the photographs reveals a yarn with a soft sheen, silk or cotton perhaps.

I don't know whether in 1912 cotton for knitting could be produced with the lovely lustre that we can get today so I guess that it was made in silk.  But in my stash I have some lovely 4 ply Rowan 100% cotton in brown and olive green


So I'll use this.  I also have some other cotton in various colours


After trying every colour combination I decided to use sky blue and mint green.


So it's off to do some serious swatching before embarkation on the main project - watch this space


xx

C

Tuesday, 27 March 2012

Lawful knitting

If I look up from my knitting on my daily commute, this is all I see, so generally I don't, I knit.


I am knitting a pair of black socks, using a technique known to the sock knitting sorority as TUTAAT  (toe up two at a time).  Anyone who keeps a crafting project specially for travelling knows the value of a compact kit. TUTAATs are just that, two circular needles, some stitches permanently on the needles (so no dropping and foraging under train seats) and one ball of yarn (if you knit from the outside and the inside of the ball).  Although it can all get a bit messy at times


Most people who read this blog or follow me on twitter know quite a lot about my knitting life but it seems that fewer people know that I live a double life.  When last week I tweeted 

Time put nose to the PC. Working at home interrupted by 2 meetings at the Law Society in PM Must avoid dreaming of new  project 

Tanya, who tweets as @strikk and has a blog of the same name which I follow as she does mine, tweeted back

How is it that I've only just realised you also a lawyer-ly type who knits.....!  

This set me wondering how many knitting lawyers are out there (I know of at least one other)

I still spend a fair amount of my working life stalking the corridors of power in my dark Lawyers suit, much of it is fascinating

I took this photograph of the lobby to the House of Commons while no one was looking (I hope I don't get sent to the Tower for this!)


Even the escalators at Westminster tube station exude a rather exciting sense of power


But it can all become routine and at times my mind wanders to thinking about the work I shall do on the train home and my amusement at the looks on the faces of my fellow passengers as I pull out of my briefcase, not a sheaf of papers, but my knitting

Black socks might be quite suitable for work wear on a chilly day but I shall knit a fairisle border along the top. I'm thinking of crossed knitting needles and a ball of yarn


x

c


Monday, 19 March 2012

The third post

Not my third blog post ever but Titanic #3  A ladies skirt from February 4, 1912 (VPLL 0200)  I received the pattern as the largest size pdf and took it to my local print shop as before.

In size 34" waist it looked as though it was going to fit me without alterations (and without contemporary underpinnings being absolutely essential).  When I made the Princess Slip I had to compromise on trimmings and use lace made from synthetic fibre, but for this project I do want to use materials that are as close to the contemporary fabrics and notions as possible.  My local fabric shop was able to provide linen in gooseberry green, cotton binding in french navy and cotton tailor's canvas.   Nothing synthetic in sight (except possibly the sewing thread)


The hooks and eyes and press studs (snaps?) are metal so could have been made in 1912 but I will defer to friends who have a much better knowledge of what-was-used-when to correct me if necessary. I cut the facing for the scallop edge as a straight piece to begin with and cut it to shape, after sewing.


Linen and cotton may crease with wearing (I don't mind a few creases, though some do) but it is also a dream to sew with, as when pressed it is possible to get a near perfect alignment.


I chose to use the contrast binding to trim the top of the waist (which is interlined with the canvas) as well as the scallop edge.


In the picture at the top of the blog you can see that I have 9 vintage style buttons laid out with my kit but I soon realised I had miscounted and needed 13.  I could have redrawn the pattern to create fewer, bigger, scallops but instead decided to use scraps of the cotton binding to make covered buttons.  A button making evening followed...


The finished effect pleases me enormously, although I admit to the edge being more saw-toothed than scalloped!


The front opening is closed with hooks and eyes.  When I tried it on the points gaped a little so I fixed the points of the opening with tiny  press studs  and lower down small tacking stitches. Being used to 5/8 inch seam turnings on modern patterns the 3/8 on these was a bit of a challenge, but it does work, even when neatening seams by turning under the seam allowance and stitching on the edge. The waist facing is blind hemmed along the natural waist line.


Now I do intend to make a corset from Corsets by Jill Salen (purely for the purposes of the clothes hanging correctly, of course!)   But even without tight lacing the skirt fitted quite well.  Authentically in fact, as after half an hour walking about my bedroom trying to get the right shot, I felt mildly breathless from the tight fit around my lower rib cage.


The blouse is modern (Anthropoligie) but I felt it had the right shape, pin tucks at the shoulders and softly draping sleeves.  

Some bloggers have provided details of how long a pattern has taken to make up.  I have again failed to time myself but estimate it took about 5 hours to cut out and machine sew (the pattern pieces fitted together effortlessly without any adjustments) and probably as long again on the hand sewing.  But I didn't rush it and I had fun!


xx

c

VPLL Checklist

  1. Pattern Name Scallop edge skirt  #0200
  2. Sewer’s Skill Level: Advance
  3. Pattern Rating:  I LOVED IT! the fit is really good (so glad some of those women in 1912 had a 34" waist!)   
  4. What skill level would someone need to sew this pattern? beginners with a little help I would say.  You need to do a bit of simple hand stitching and care to get the binding right but all the other shaping is in the seams
  5. Were the instructions easy to follow? Yes.  My only question was which way should the scallops face.  My instinct was that the opening should face the back but the pattern and instructions said otherwise so I followed that and put snaps on the points of the scallops at the opening and tacking stitches further down to avoid any gaping
  6. How was the fit/sizing?  yes exactly
  7. Did you make any pattern alterations? no
  8. Other notes:  The style would be great for contemporary wear too


Tuesday, 13 March 2012

When is a knit-along not a knit-along?

Answer:- when a novice tries to start one.  I'm afraid its all gone wrong already.  I think it should begin with a group of friends who decide to make something, buy the yarn at the same time, cast on in unison and keep pace as they reach the triumphal finishing line in a dead heat. And that is what is called a knit-along, a KAL in knit-speak (It was a while before I cottoned on to that one)

It began well when  Kathleen whom I met at P3 2011 posted a picture of this missoni-look-alike cowl on twitter

Liquid Amber (it's a free Ravelry download)
there followed a certain amount of tweeted oohs and aahs from the knitterati.  I tweeted that the pattern would be perfect for one of my unravel purchases and  Kathleen suggested a KAL.  She and I did agree we would link blog posts.  But that is when I let knitting temptation lead me astray and went off on what legally speaking is sometimes called 'a frolic of my own'  (once said by a high court judge, honest)


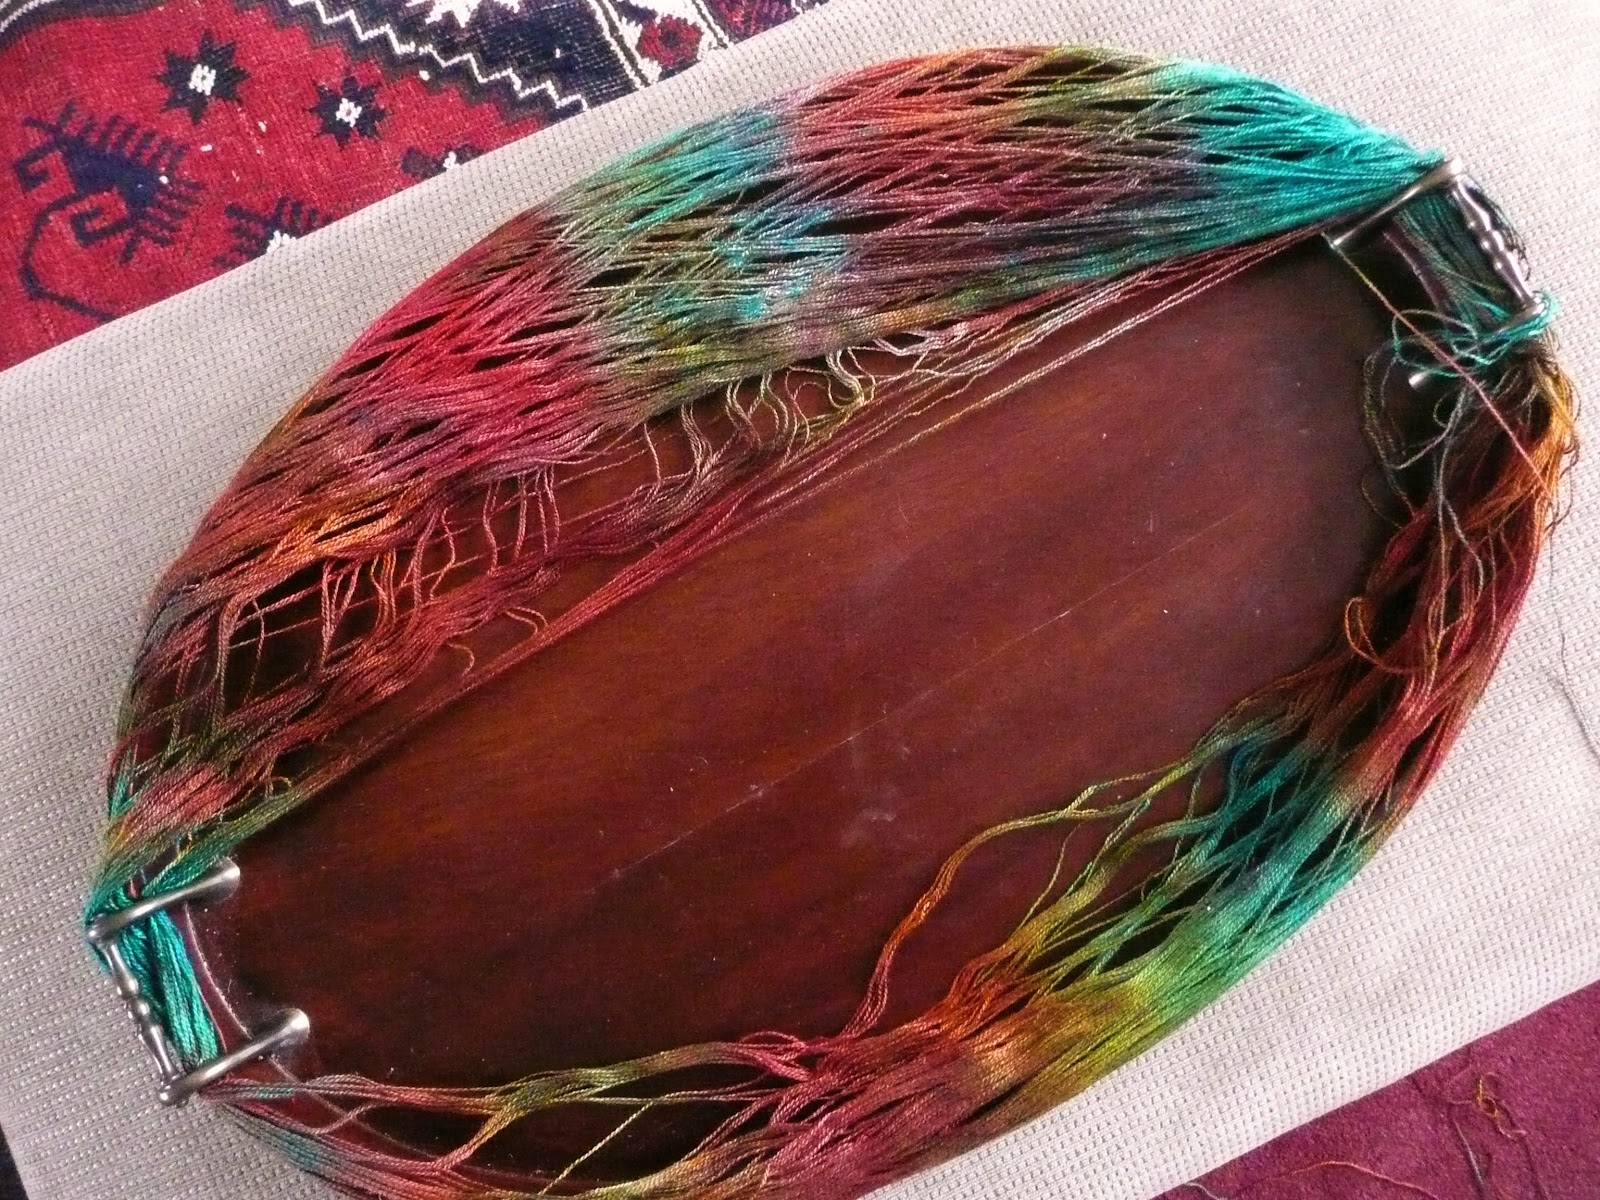
This is the yarn, beautiful fine sheeny 50/50 silk/merino hand dyed by the Skein Queen.  First problem, JTH was out and I wanted to begin AT ONCE (there's no satisfaction in delayed gratification knitwise).  I need a swift and yarn winder so much, but this day I looked around the house and my eyes alighted on this old tray


It might look a bit messy but the handles work perfectly well to keep the hank falling off.

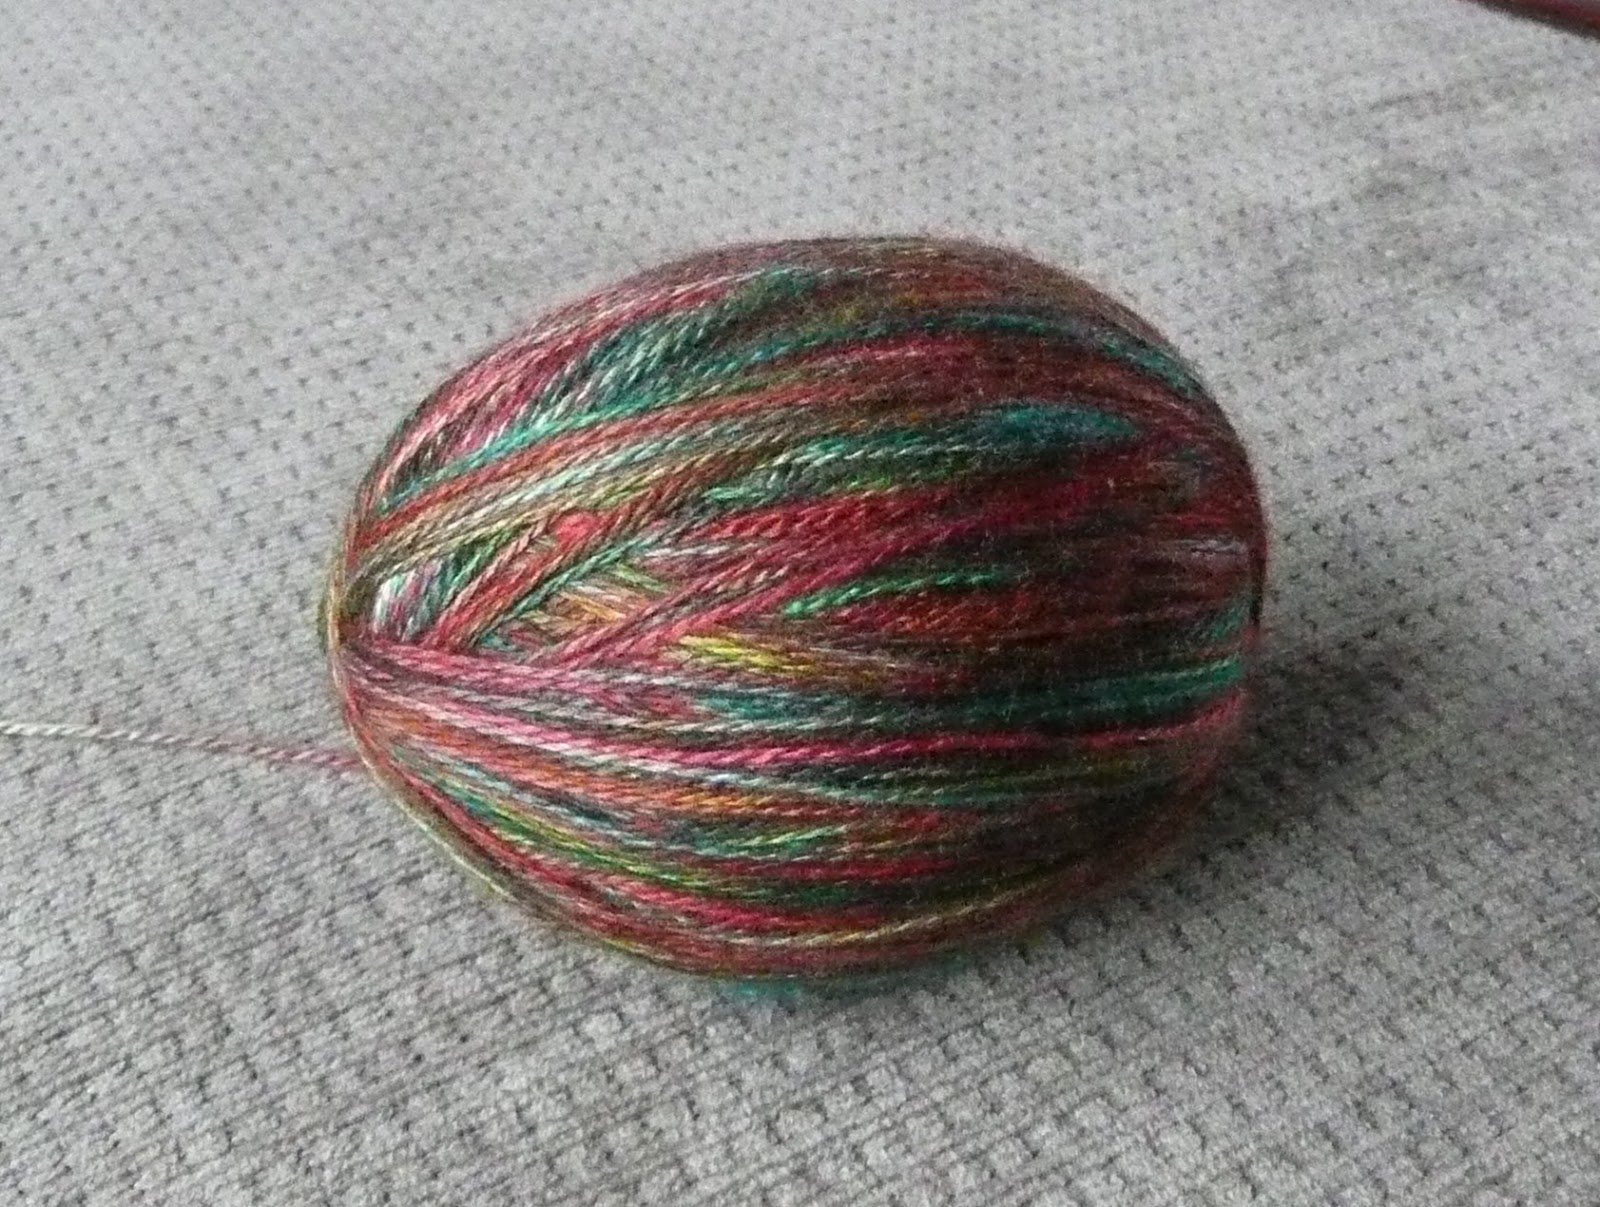
wound and ready to...


cast on


It hasn't turned out as stripey as the original.  A more experienced knitter could have told me that from just looking at the skein, but I love the colours and I can always knit another, asking next time for yarn with long colour repeats.  .  The lace stitch is very easy to learn.  There is a chart and text instructions in the pattern. I added two more repeats (30 more stitches) to make my cowl a little longer. I found I could knit up one complete pattern per night so it's...


I realise that I should have waited, it is not a KAL, but more like a race and that is not polite.  But Kathleen is a very busy woman.  She is not only a PhD student she is also making more that a stripey cowl at the moment (see her blog for more detail!)  I think she has the yarn picked out, however, so keep an eye on her blog.

I have more on the Titanic project to blog next week but if all goes to plan there will be a big PS with a picture of the finished cowl as well

xx

c 

PS
All done now

Lessons learned 

  • use yarn with long repeats if you want the stripey look
  • check the size as well as the tension.  I knew I wanted my cowl to be a little longer to drape more, so I added 2 more repeats.  But I should have measured.  After blocking it turns out 4 cm greater in circumference than the pattern - as expected - but that is still not long enough to get the look I like.  I have plenty of yarn left so no excuse!
  • photograph cowls in full light with a white background if you don't want your neck to feature (success there)


I still like it and it will make a pretty collar to a plain dress but if I make another I shall make it longer, probably  in 4 ply and get the colours right!


Tuesday, 6 March 2012

Sleeping in your sock(s)

Very soon after he was born it became apparent that The Boy loved being cuddled.  His favourite sleeping position is being cradled in someone's arms.  He would sleep for England if only there were enough people around who did not need their arms for anything else for a while.  He often has to settle for second best if his mother is busy and be carried around in the baby sling.  Third best is being wrapped up very snugly.


So when I saw a pattern for the owlie sleep sack and hat by Theresa Cole on Ravelry it seemed absolutely perfect for him. I made it in my favourite Debbie Bliss Cashmerino (aran weight this time).  It knitted up very quickly, although after making it exactly the right length according to the pattern I had to unpick it and knit several more inches - The Boy is very long.


The owls are formed by little cables placed one above the other.


I have seen these owls decorating mittens and a child's jumper where tiny pearl buttons are used for the eyes but  buttons could be dangerous for small babies so I left them out as the pattern suggested.

I think it can be declared a success


The pattern name is sleep sack but The little Model calls it a sleep sock... so sock it is


x
C

Tuesday, 28 February 2012

Unravelling and learning a new skill

How lucky am I to live near the lovely Farnham Maltings where Unravel takes place?


  The path from the car park to the old mill was...


Past the lamp posts 


And over the bridge

I was determined to exercise full self control.  I have two large under-bed storage boxes bursting at the seams with knitting wool and am spilling over into a third.  I DO NOT NEED MORE YARN.  But they sold so many other beautiful things. I just adore little pieces of vintage kit.


These may be more ornamental than useful but will be loved never-the-less.  The little Bakelite bee skep unscrews to hold a ball of yarn.  If I had a cat it would keep fidgety paws from making a Gordian knot of my yarn, although I don't I shall still treasure it. I particularly like that it incorporates a needle gauge on the bottom.  I most certainly don't darn socks, but if I did it would be pleasing to use the old darning mushroom.  Perhaps now I knit the occasional sock I shall consider darning if they wear out.  But I shall find the perfect use for the three hand made needle lace medallions as embellishment for one of the garments from the Titanic Project

Of course I did buy some yarn, like this merino and silk lace-weight from Ruth &Belinda


The buttons from Wolfe Murray Ceramics are a perfect match

Then of course some more bright lace weight and some F&B ringoes (essential markers for lace) from Skein Queen


BUT the big impulse buy was unspun yarn, this Wensleydale


and this absolutely fabulous ready to spin mixed fibre


All the colours of the sea sparkling in the sunshine of a summer's day are there, in a combination of the softest wool, sheeniest silk and just a sprinkling of metallic thread

No matter that I can't spin!  I am going to learn.  So yesterday I dug out my drop spinning starter kit (AKA a few bits from my mother's spinning stash)


And worked at it all day


A bit 'organic' and over-spun but I'm getting there, although it will be a while before I tackle the seascape.  It would be best in lace-weight I think...

xx

c

PS Titanic Project update

My next pattern has arrived, it is this beautiful skirt.  Very wearable n'est ce pas?


Wednesday, 22 February 2012

Titanic Project post 2

It's been hard work work, lots of head scratching, many hours of hand sewing, new stronger glasses and a  large tin of spray starch but also immense satisfaction -  I've finished my first challenge on the Titanic project.  It just fits on my mannequin (if I adjust it to the smallest size) 


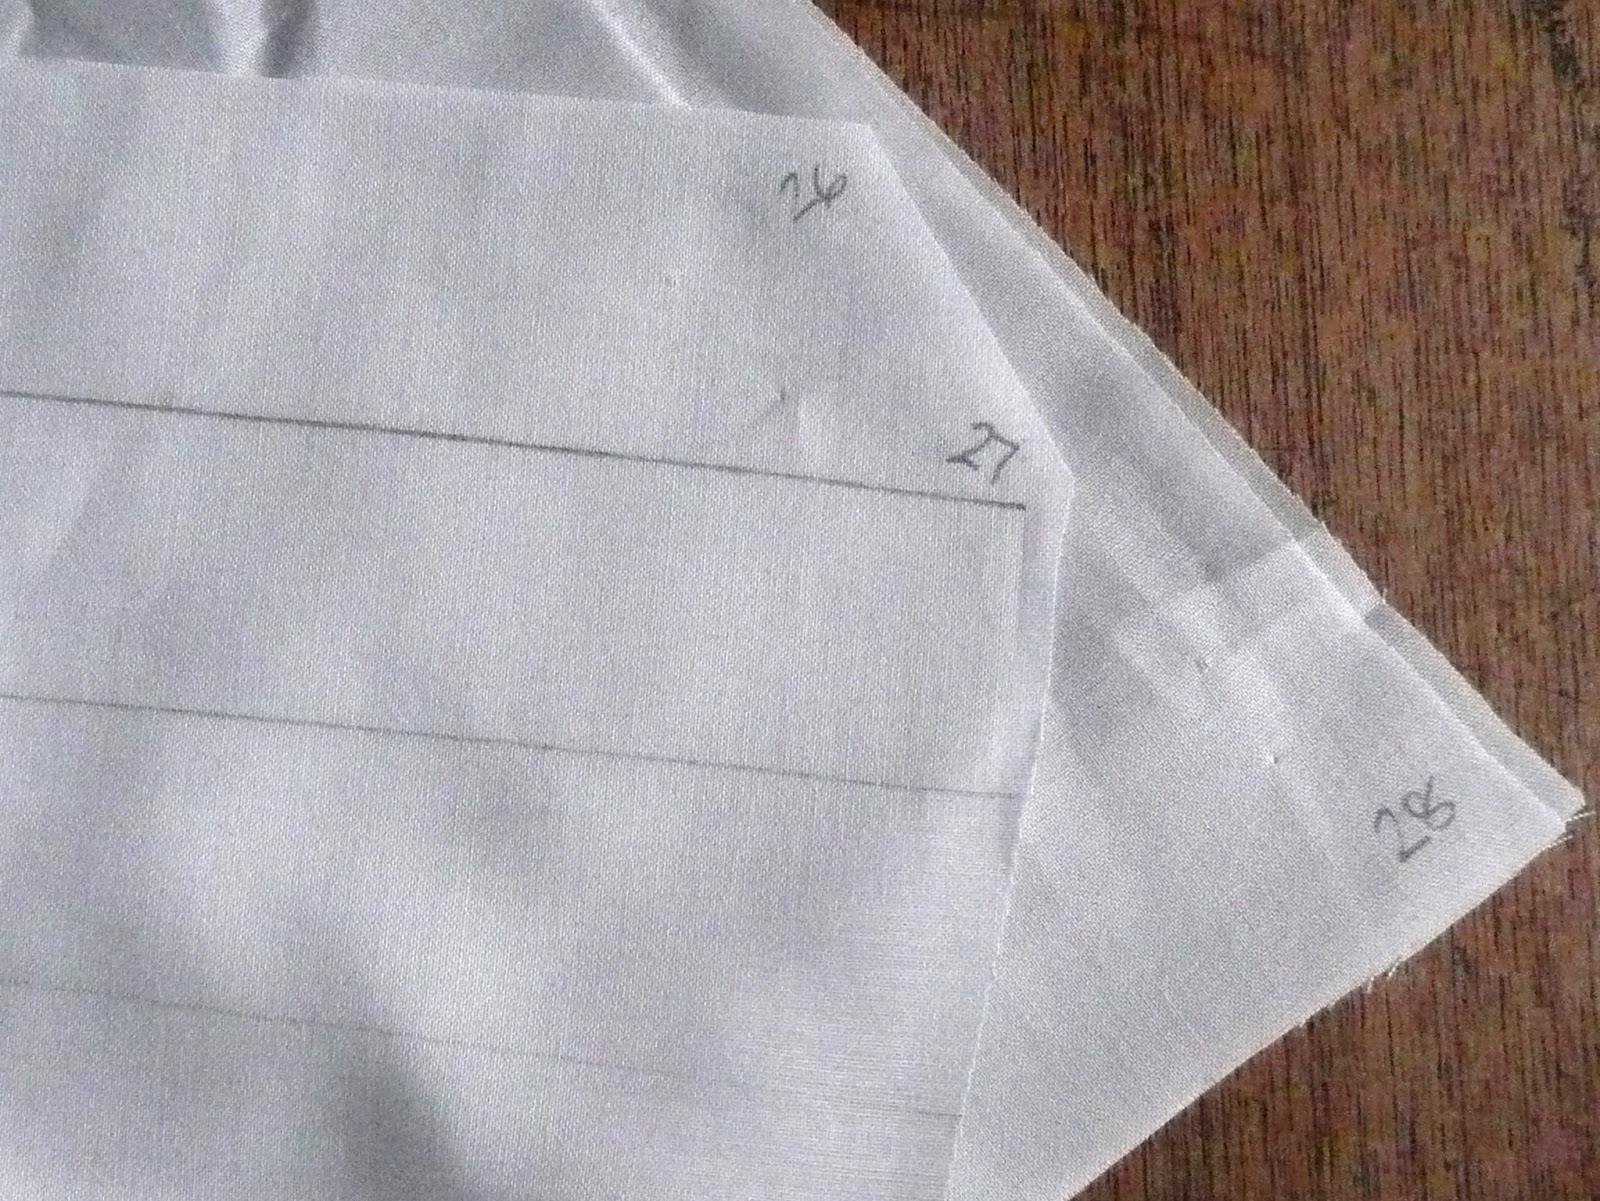
I have to confess to not paying much attention to instructions generally, when sewing I tend to scan the pictures to get an idea of the order of making up and launch in.  So the fact that the Princess Slip pattern has no instructions, and the only pattern markings for the lace placement and numbers at intervals was fine by me.  The idea is you sew the pieces together in numerical order, 20 to 20 then 21 to 21 and so on. Janyce at the Vintage Pattern Lending Library has provided some instructions and for the rest I just thought very hard about the order before cutting and sewing - think twice and cut once and all that. With only four pattern pieces and a flounce this was not too tricky

My only criticism of the pattern itself is that it is produced with grey not black lines - this makes for very faint lines when printing out in black and white - hence the new stronger glasses!  But in a good light I transferred the numbers and lines for lace placement with one of those magical Pilot Frixion pens which produce a strong black line which instantly vanishes when ironed


I continued to work on the lace insertion in the same way as I described in my last post. If the insertion ran over a seam I worked the seam first.  I decided to work all the seams as very fine French seams


When sewing curved seams generally you need to clip the outside of curves and notch the inside but if the seam is narrow enough (and I'm talking of 3/16ths here) then you can persuade the seam to curve without clipping with a gentle steam iron.  The pattern pieces fitted together well, I decided not to adjust them to fit (me or anyone else) but to make up as drawn) 


I did wrestle with my conscience a bit over the button holes.  My sewing machine, has a special foot for button holes.  It works like a little gig with a slot of the button that ensures the machine automatically makes the right sized button hole.  But would seamstresses, particularly home workers have had anything like that? Having learnt to sew on my mother's treadle, already ancient by the 1950s I know they would not and I did want to make the petticoat in as authentic manner as possible (hence the miles of hand hemming on the insertions).  So I hand sewed all 8 of them.


I departed from the standard of 'stitch then slash' for the insertion over the seam attaching the flounce.  I felt the end result would be too bulky so I machined a narrow turning on the slip and one on the upper edge of the flounce then attached the flounce thus bridging the gap and maintaining the sheer effect that I had in the rest of the garment. 

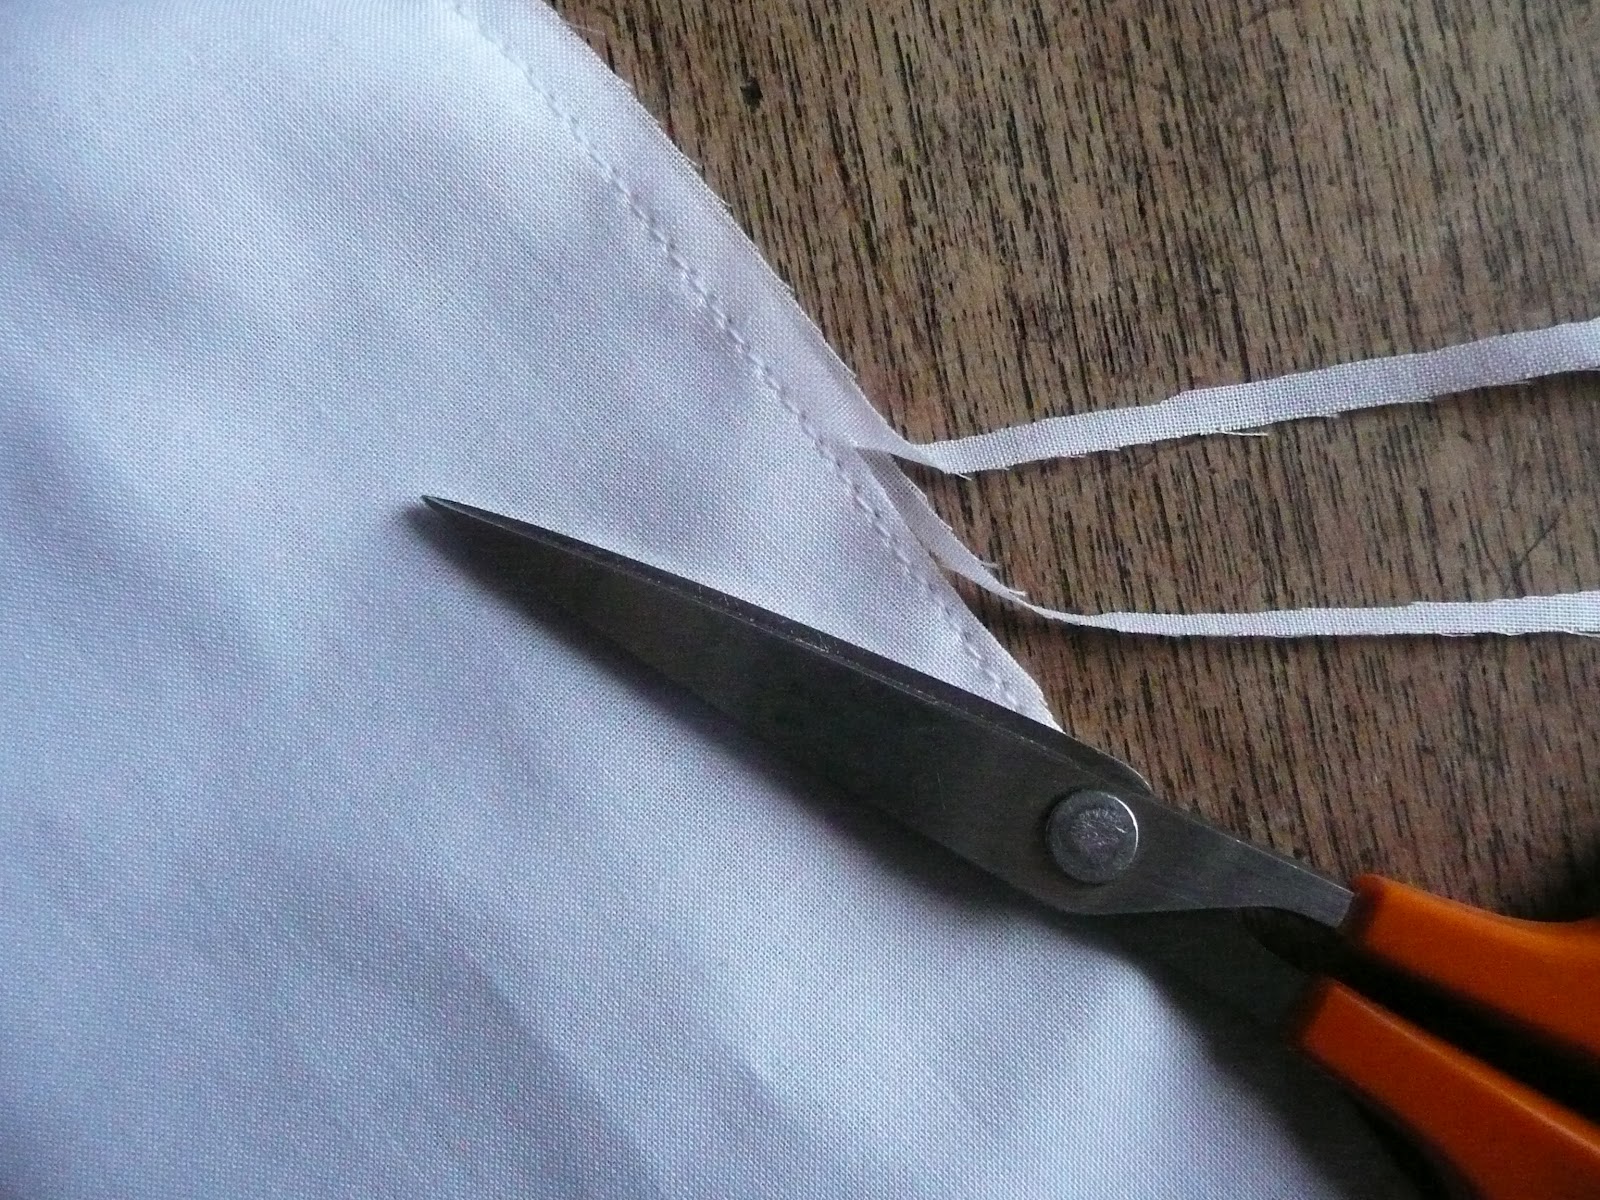
I did seam the side front seams properly then cut them off when working the back of the insertion.  I wouldn't do that again - it was too fiddly and left me with very little fabric to turn under and hem.  Next time I will stitch a plain seam with as wide a stitch as I can get from my machine and then pull it out after attaching the lace.


In one blog I read that the blogger found the neck gaped between the two side front seams.  I think it does and wonder if it is meant to do so to accommodate the cleavage a woman would have got from the way the corset was worn.  I used the ribbon insertion to pull up the fullness so that the neckline laid flat.

When I finished I had about a meter of the lace insertion left but did feel I could have done with a little more of the eyelet lace ribbon, and lace edging for the neck and armholes.  The broderie anglaise was exactly enough, about .5m more would have been less scary and the same amount more ribbon would have given me enough to have proper ties to adjust the fullness of the neckline.  Of the lace edging, I did not have enough to gather it all around the sleeve edges so kept the fullness to the the shoulder only.

But overall I loved making it, the pricked fingers and the needle threading all worth it - and I'm looking forward to the next project coming soon.

xx

C


VPLL Checklist

1.         Pattern Name Princess Slip #0336
2.        Sewer’s Skill Level: Advance
3.        Pattern Rating: I LOVED IT! So pretty, I had never attached lace insertion this way before but it was quite easy and I found the hand-sewing relaxing (am I the only person who loves hem stitching?)
4.        What skill level would someone need to sew this pattern and why? Intermediate, there are one or two tricky seams which look like awkward shapes but you just have to take charge!, 
5.        Were the instructions easy to follow? yes?
6.        How was the fit/sizing?   fine, it came out just as it said, with drawing up the ribbon at the neck and putting it over a corset, the fit was very good
7.        Did you make any pattern alterations? the slip was a perfect size 36, although a little small for me I wanted to make my first 1912 pattern up as drawn to get the hang of the general way the patterns and instructions are drawn before I began messing about with anything!?
8.        Other notes: I loved the pretty design, and will make one in a size 40 bust for me to wear under my vintage outerwear.  Some people have said it would make a perfect summer dress and I think that's right, although too frilly for me it would be perfect for a younger person